原文:https://www.microcharon.com/tech/434.html
Prerequisite
本教程主要使用 Hetzner Cli,控制台相关操作仅作配图
| 资源名称 |
实例类型 |
公网IP (IPv4) |
内网IP |
| mysql-1 |
CAX11 |
159.69.51.135 |
10.0.0.2 |
| nginx-1 |
CPX11 |
138.199.146.111 |
10.0.0.3 |
| nginx-2 |
CPX11 |
138.199.148.145 |
10.0.0.4 |
| load-balancer-1 |
LB11 |
138.199.129.170 |
10.0.0.5 |
| load-balancer-2 |
|
\ |
\ |
当然 Hetzner 有提供直接安装 WordPress 的选项,如下

测试cloud-init
以下的安装脚本 NGINX 用的稳定版本,PHP 指定版本 8.4.3,MySQL 指定版本 8.4.3,脚本中相关配置仅供参考,若需调整请自行更改
NGINX PHP 安装测试,此处使用编译安装,因此在 VM 上安装 nginx php 等大约需要 20-30 分钟
文件命名为 nginx-php-wordpress.yml
#cloud-config
package_update: true
package_upgrade: true

runcmd:
  - wget https://cdn.microcharon.com/assets/scripts/install_nginx.sh -O /tmp/install_nginx.sh
  - chmod +x /tmp/install_nginx.sh
  - /tmp/install_nginx.sh
  - wget https://cdn.microcharon.com/assets/scripts/install_php.sh -O /tmp/install_php.sh
  - chmod +x /tmp/install_php.sh
  - /tmp/install_php.sh
  - wget https://wordpress.org/latest.tar.gz -O /tmp/latest.tar.gz
  - tar -xzf /tmp/latest.tar.gz -C /home/wwwroot/default --strip-components=1
在另一台主机上装 MySQL,变量 MYSQL_ROOT_PASSWORD="your_secure_password" 更换为自定义的密码
文件命名为 mysql.yml
#cloud-config
package_update: true
package_upgrade: true

runcmd:
  - wget https://cdn.microcharon.com/assets/scripts/install_mysql.sh -O /tmp/install_mysql.sh
  - chmod +x /tmp/install_mysql.sh
  - MYSQL_ROOT_PASSWORD="your_secure_password" /tmp/install_mysql.sh
创建内网
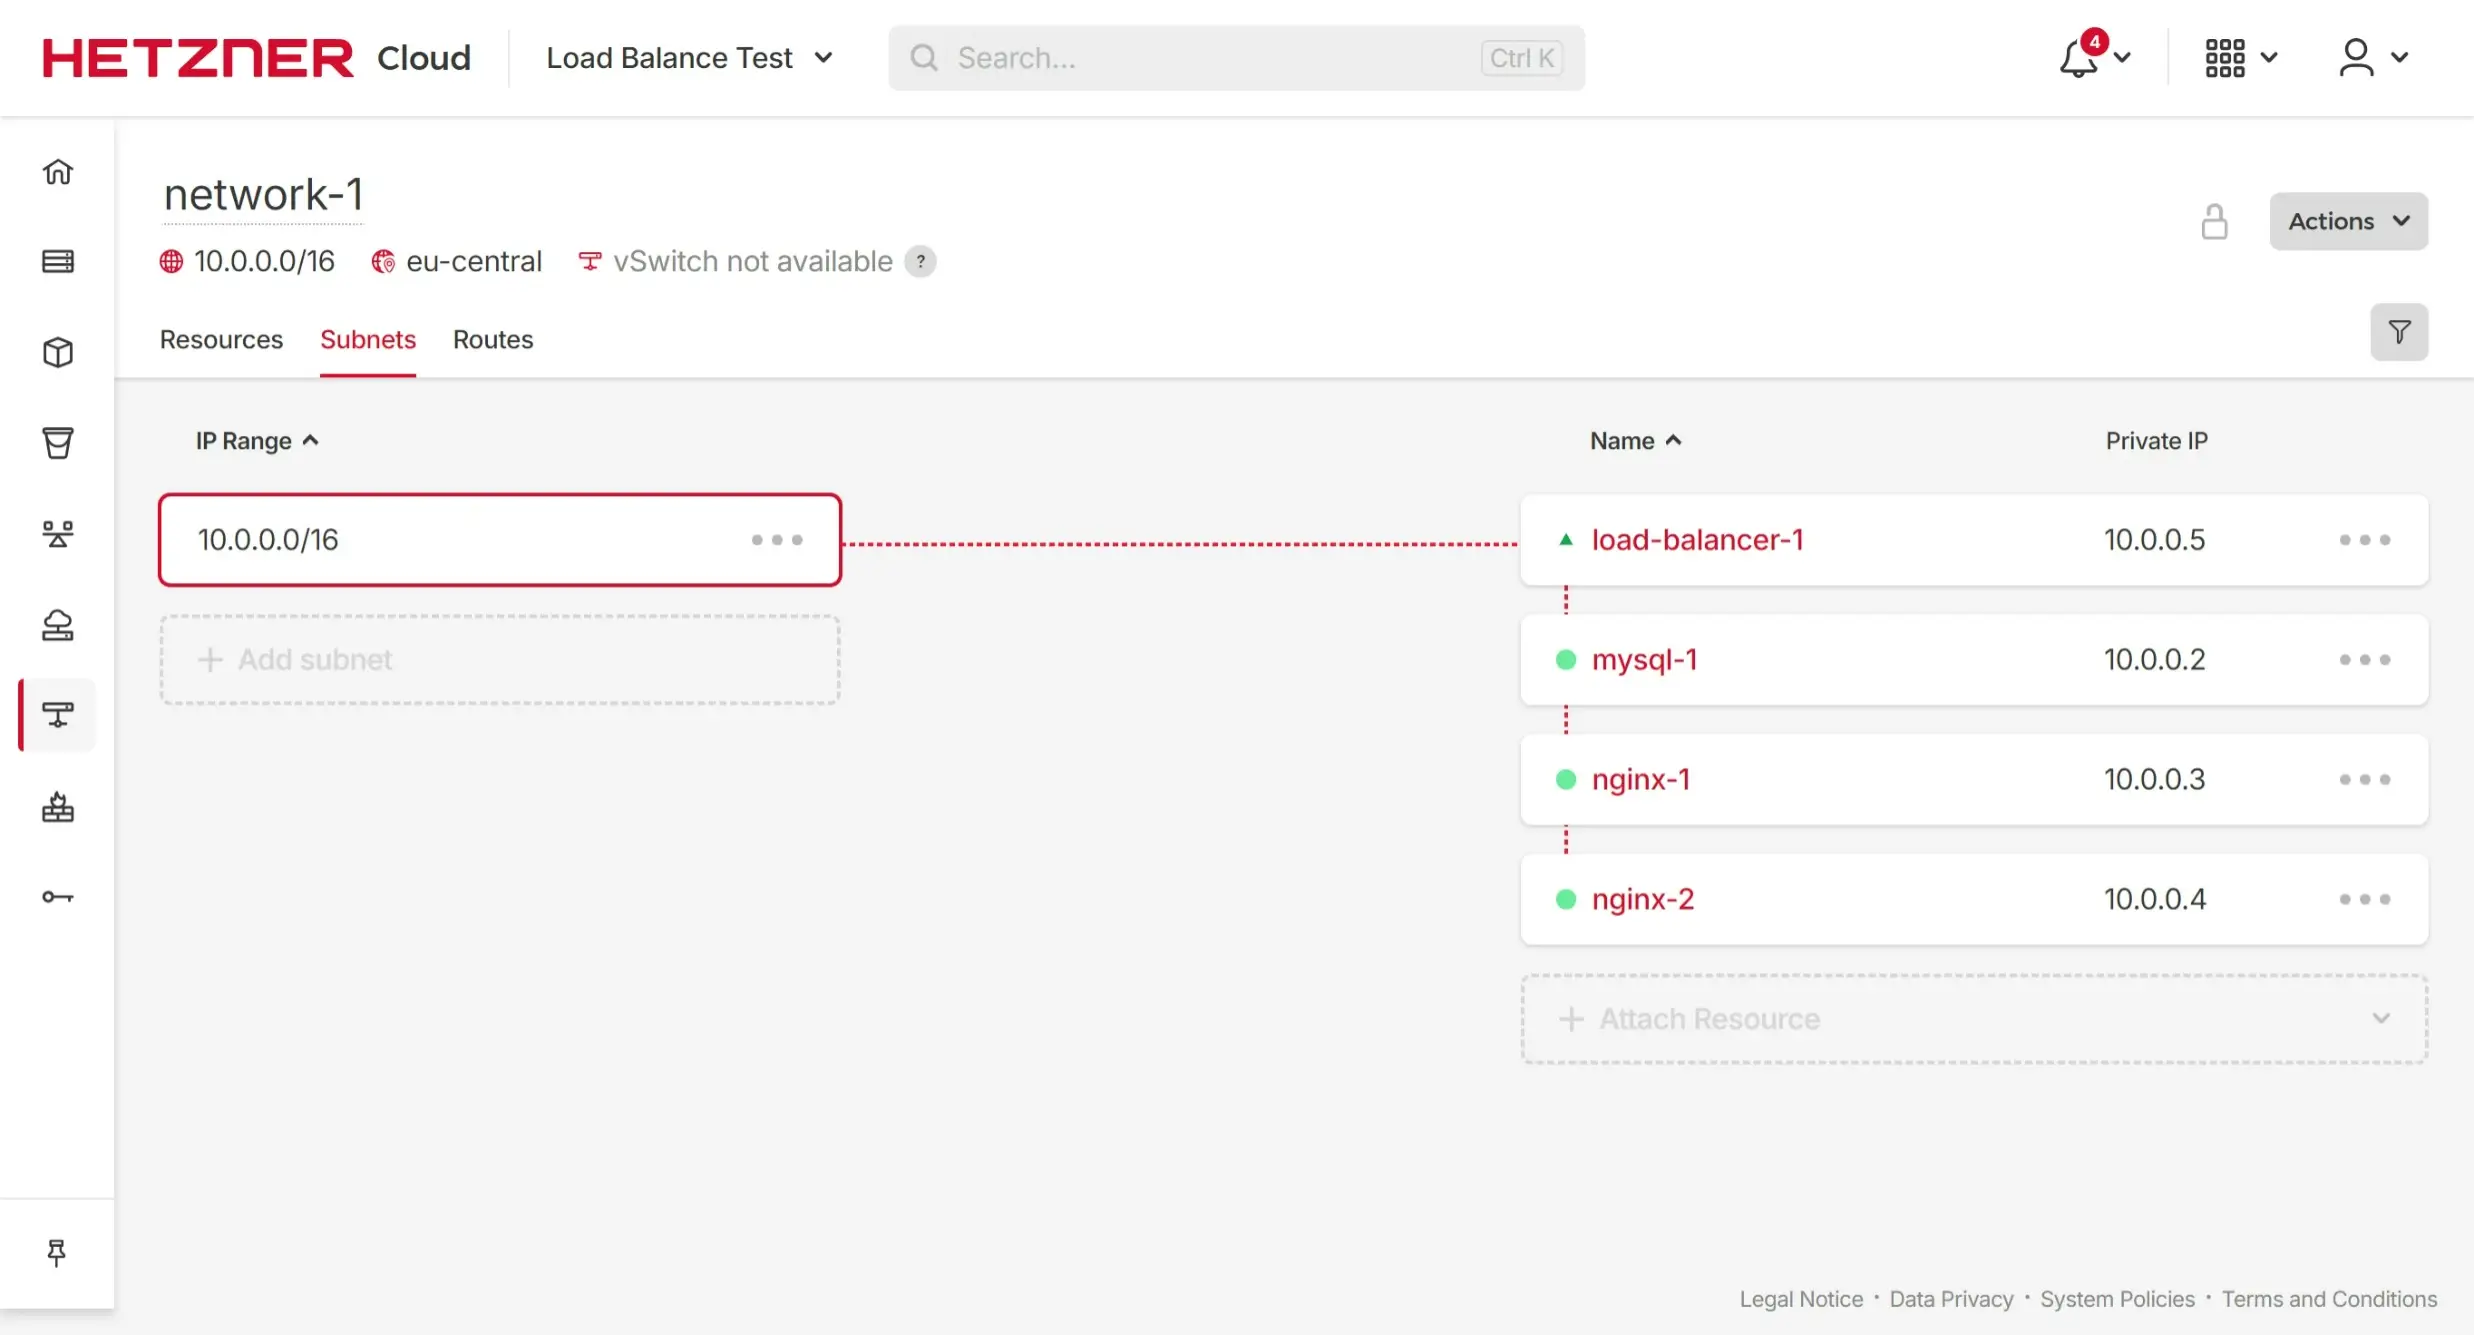
创建内网 IP 段 10.0.0.0/16 以便将所有资源分在同一子网段下,区域选择为 eu-central
hcloud network create --name network-1 --ip-range 10.0.0.0/16
hcloud network add-subnet network-1 --network-zone eu-central --type server --ip-range 10.0.0.0/16
创建实例并放入置放群组
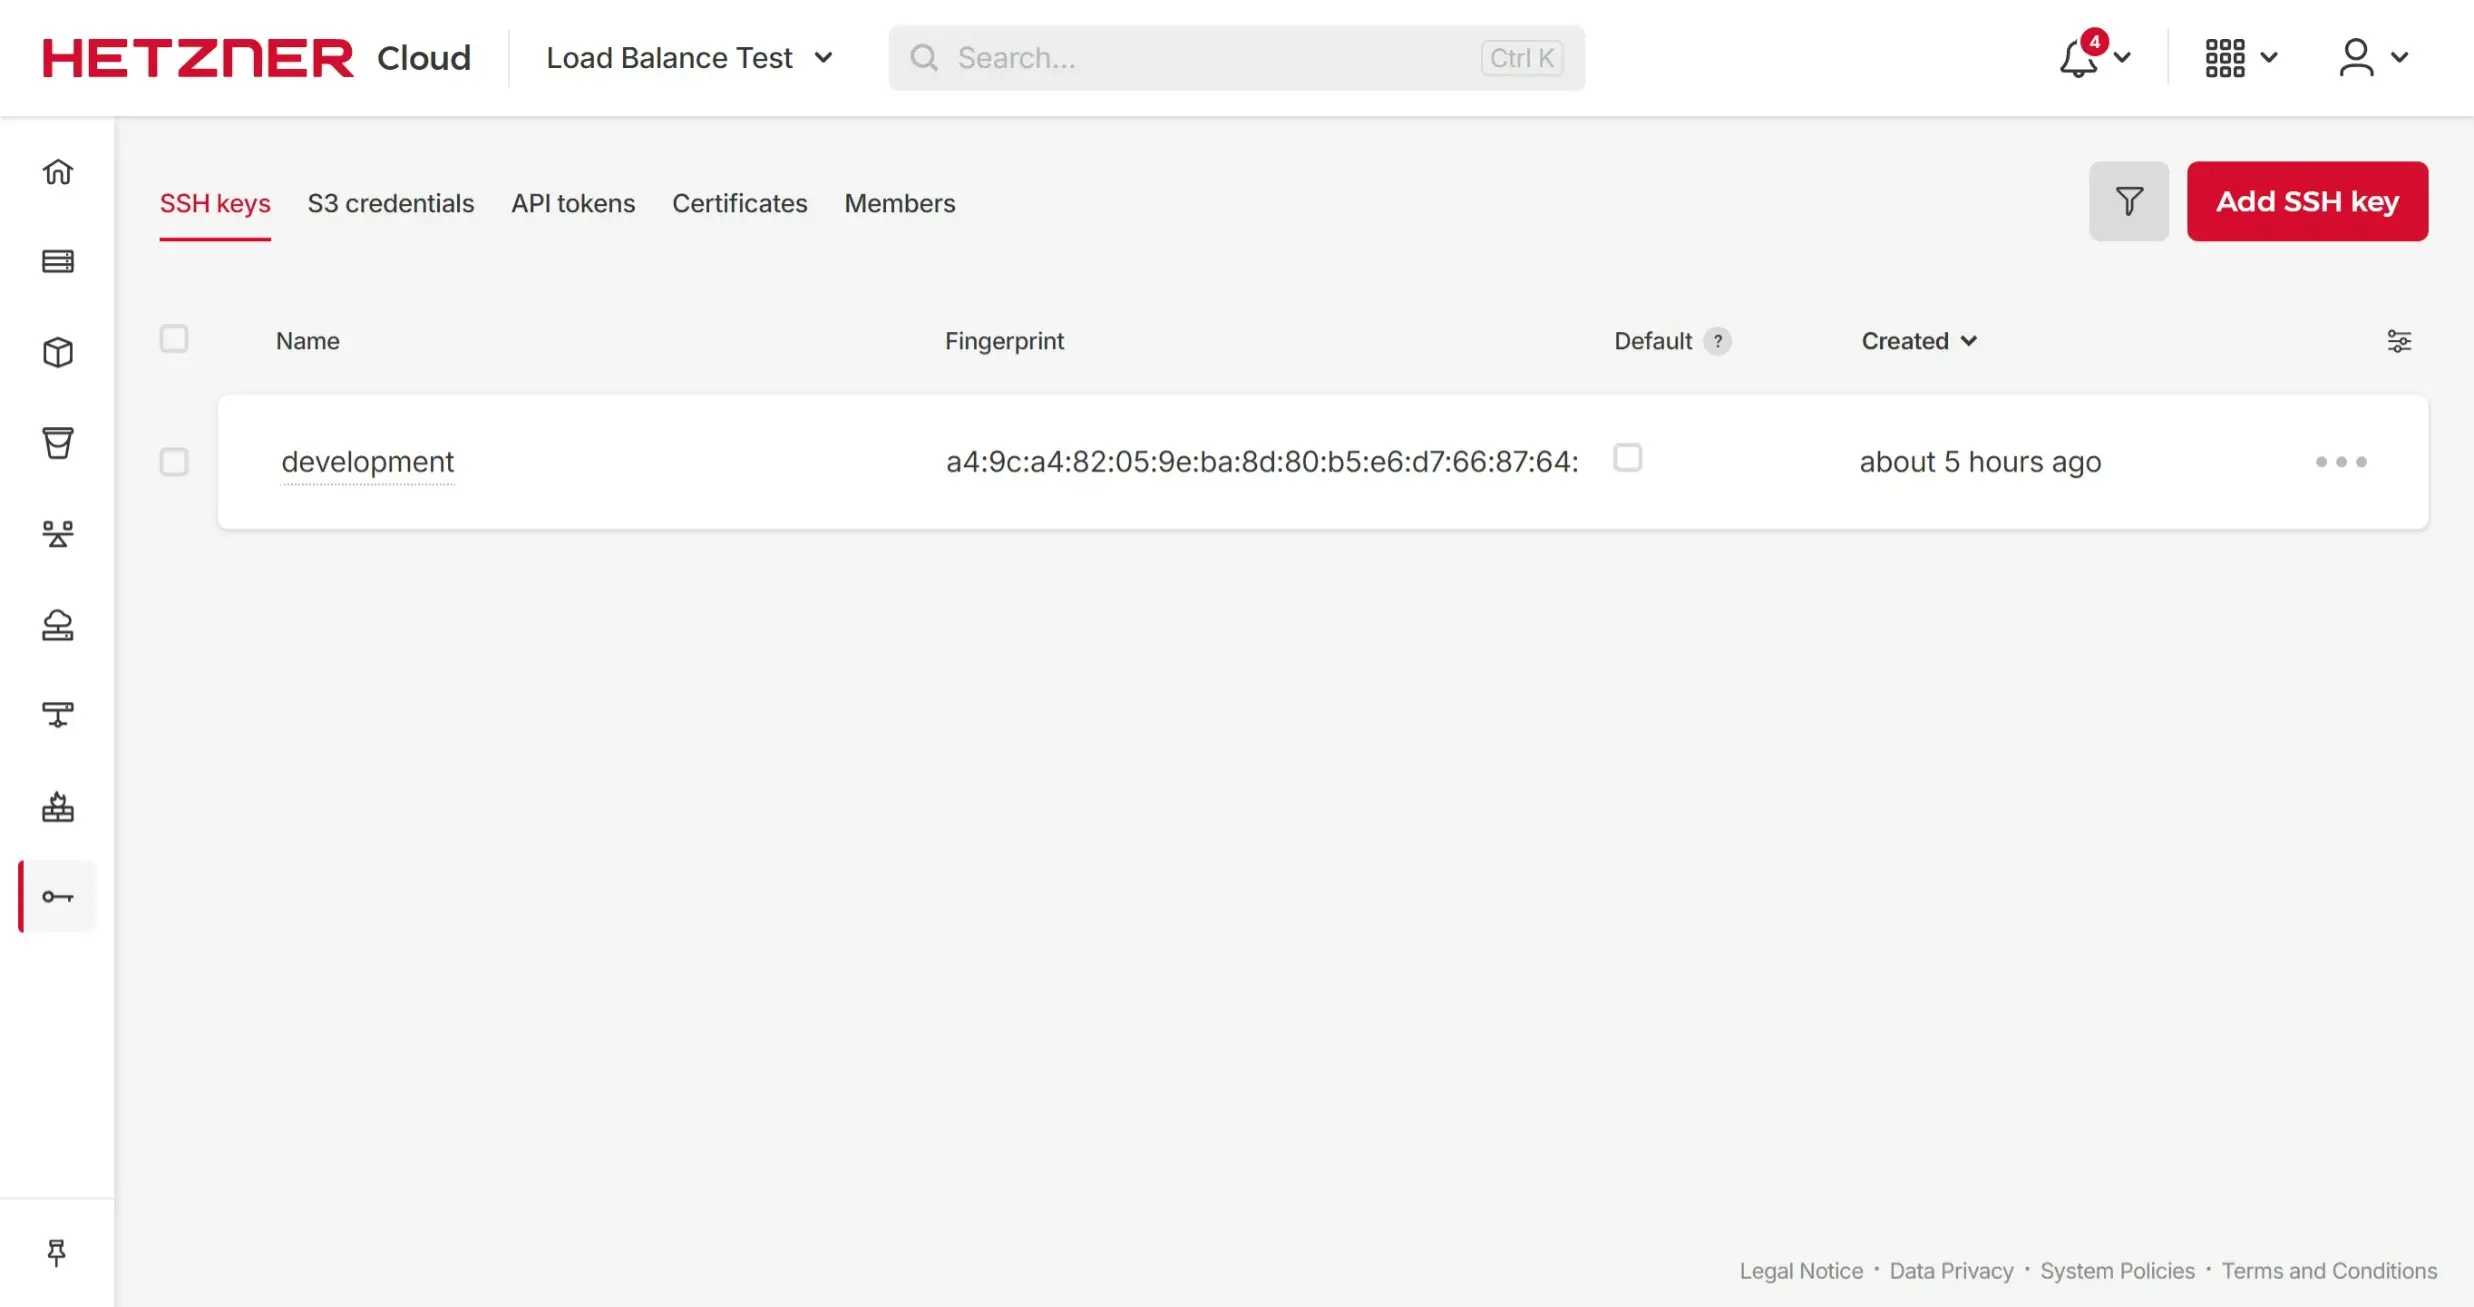
添加已有的 SSH 公钥,此处命名为 development
hcloud ssh-key create --name development --public-key <your-ssh-public-key>
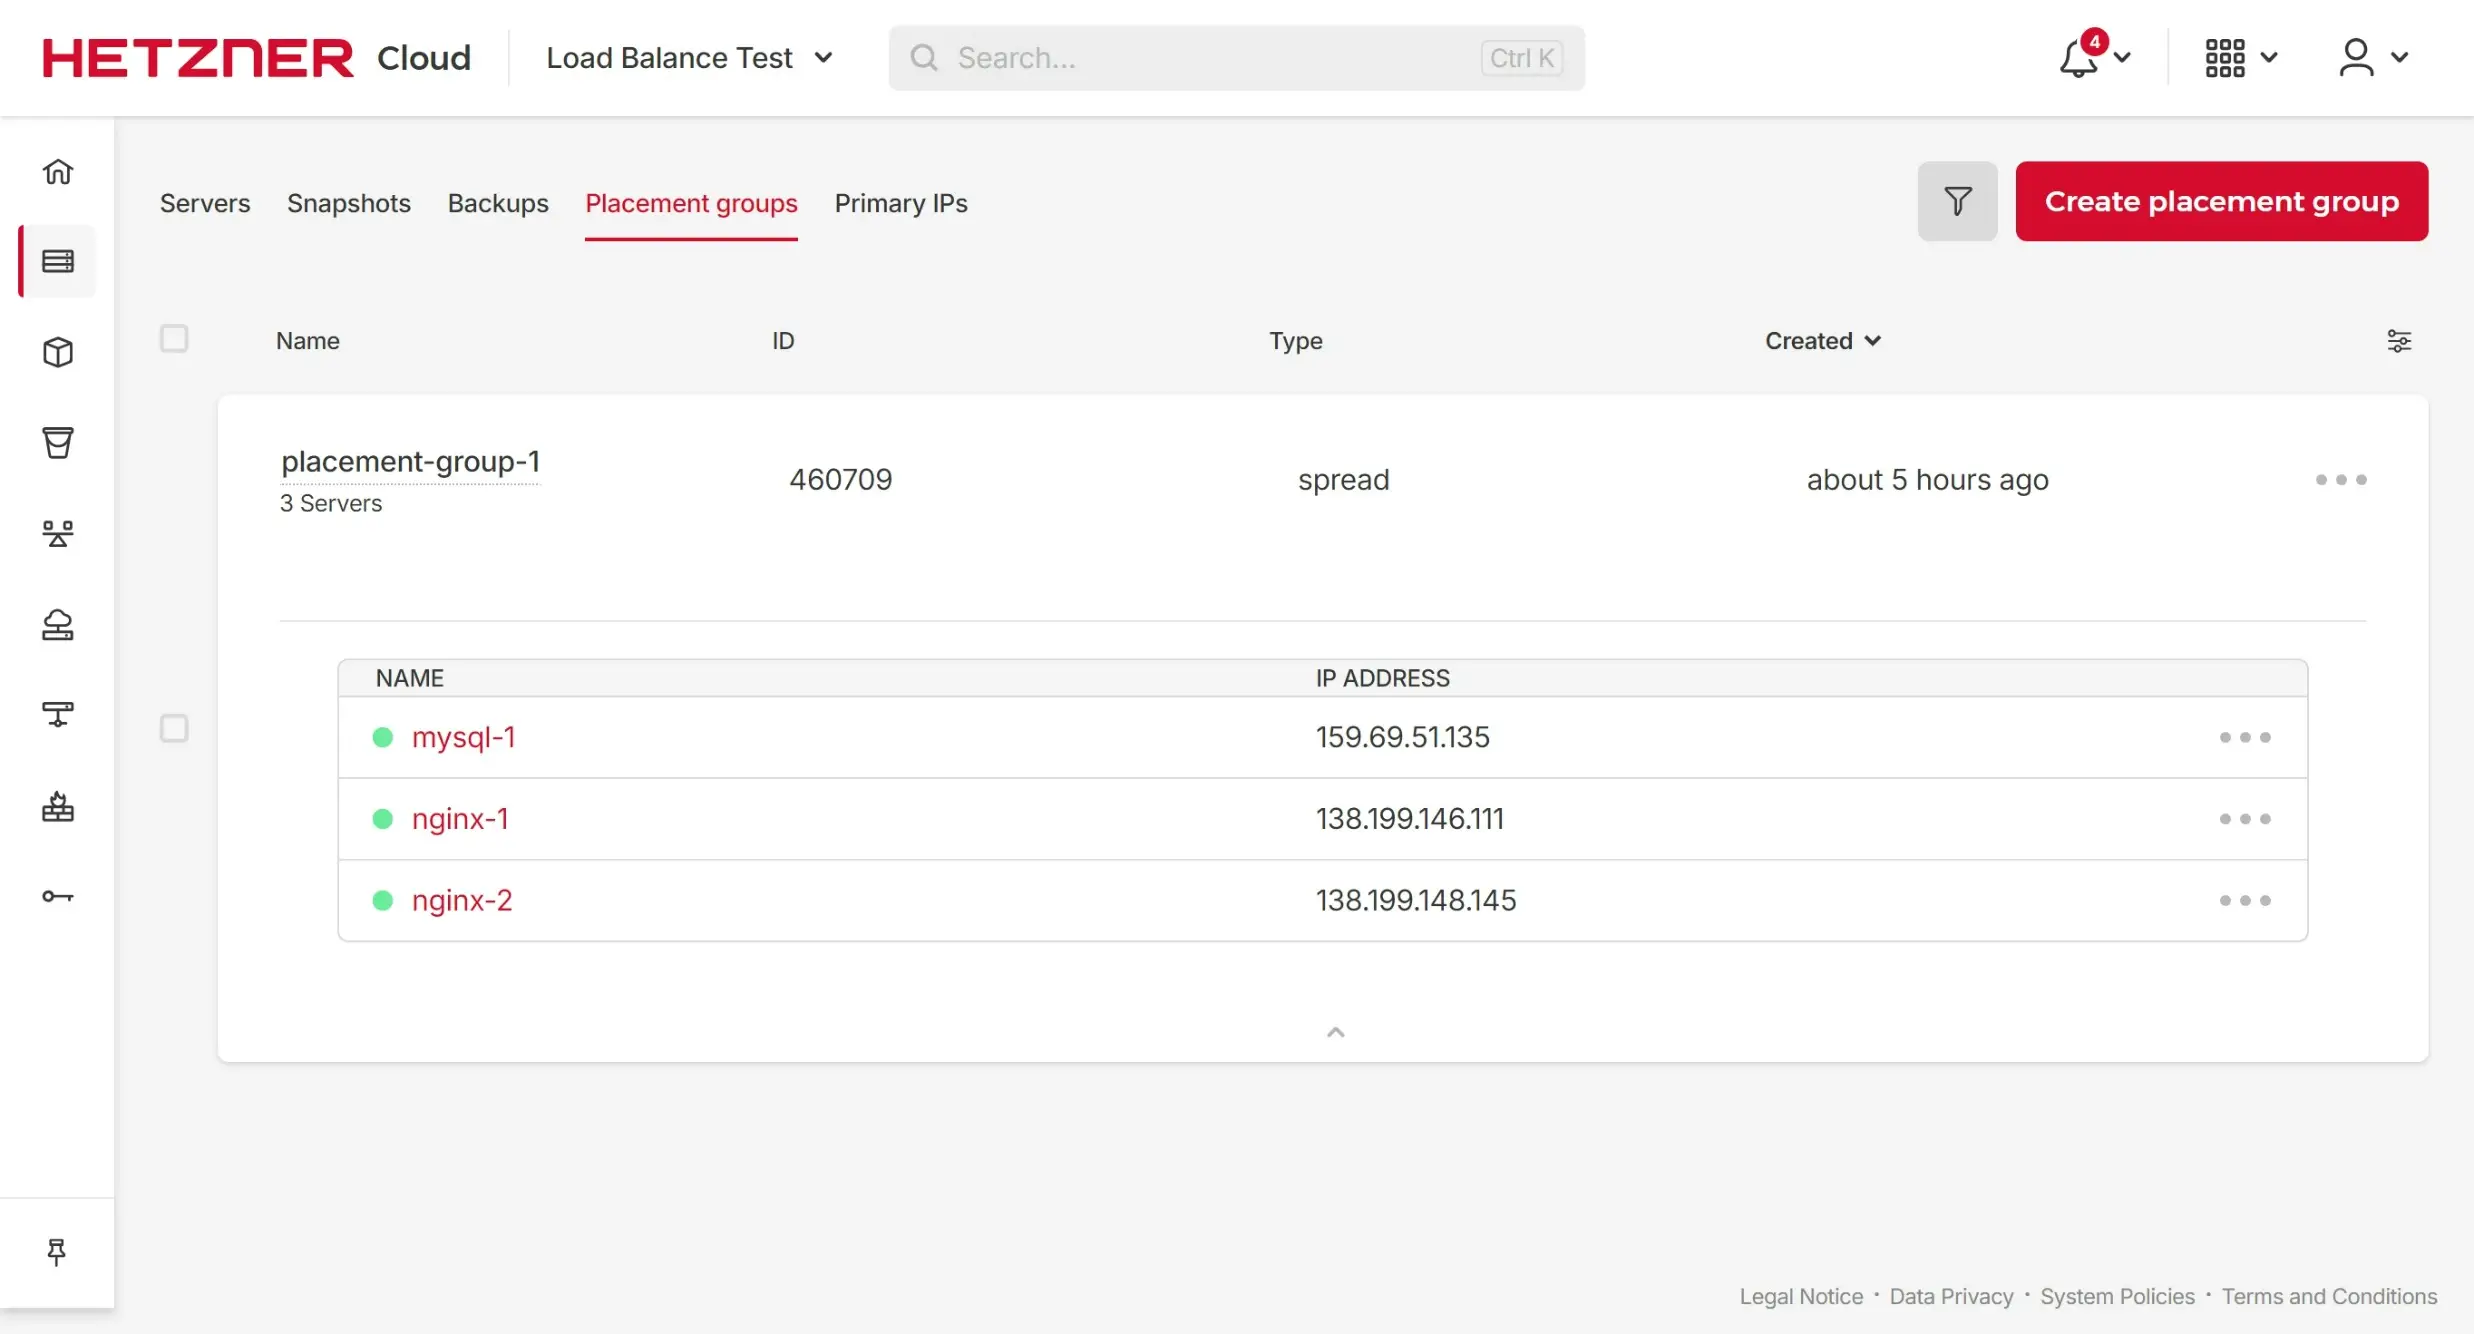
创建置放群组名为 placement-group-1
hcloud placement-group create --name placement-group-1 --type spread
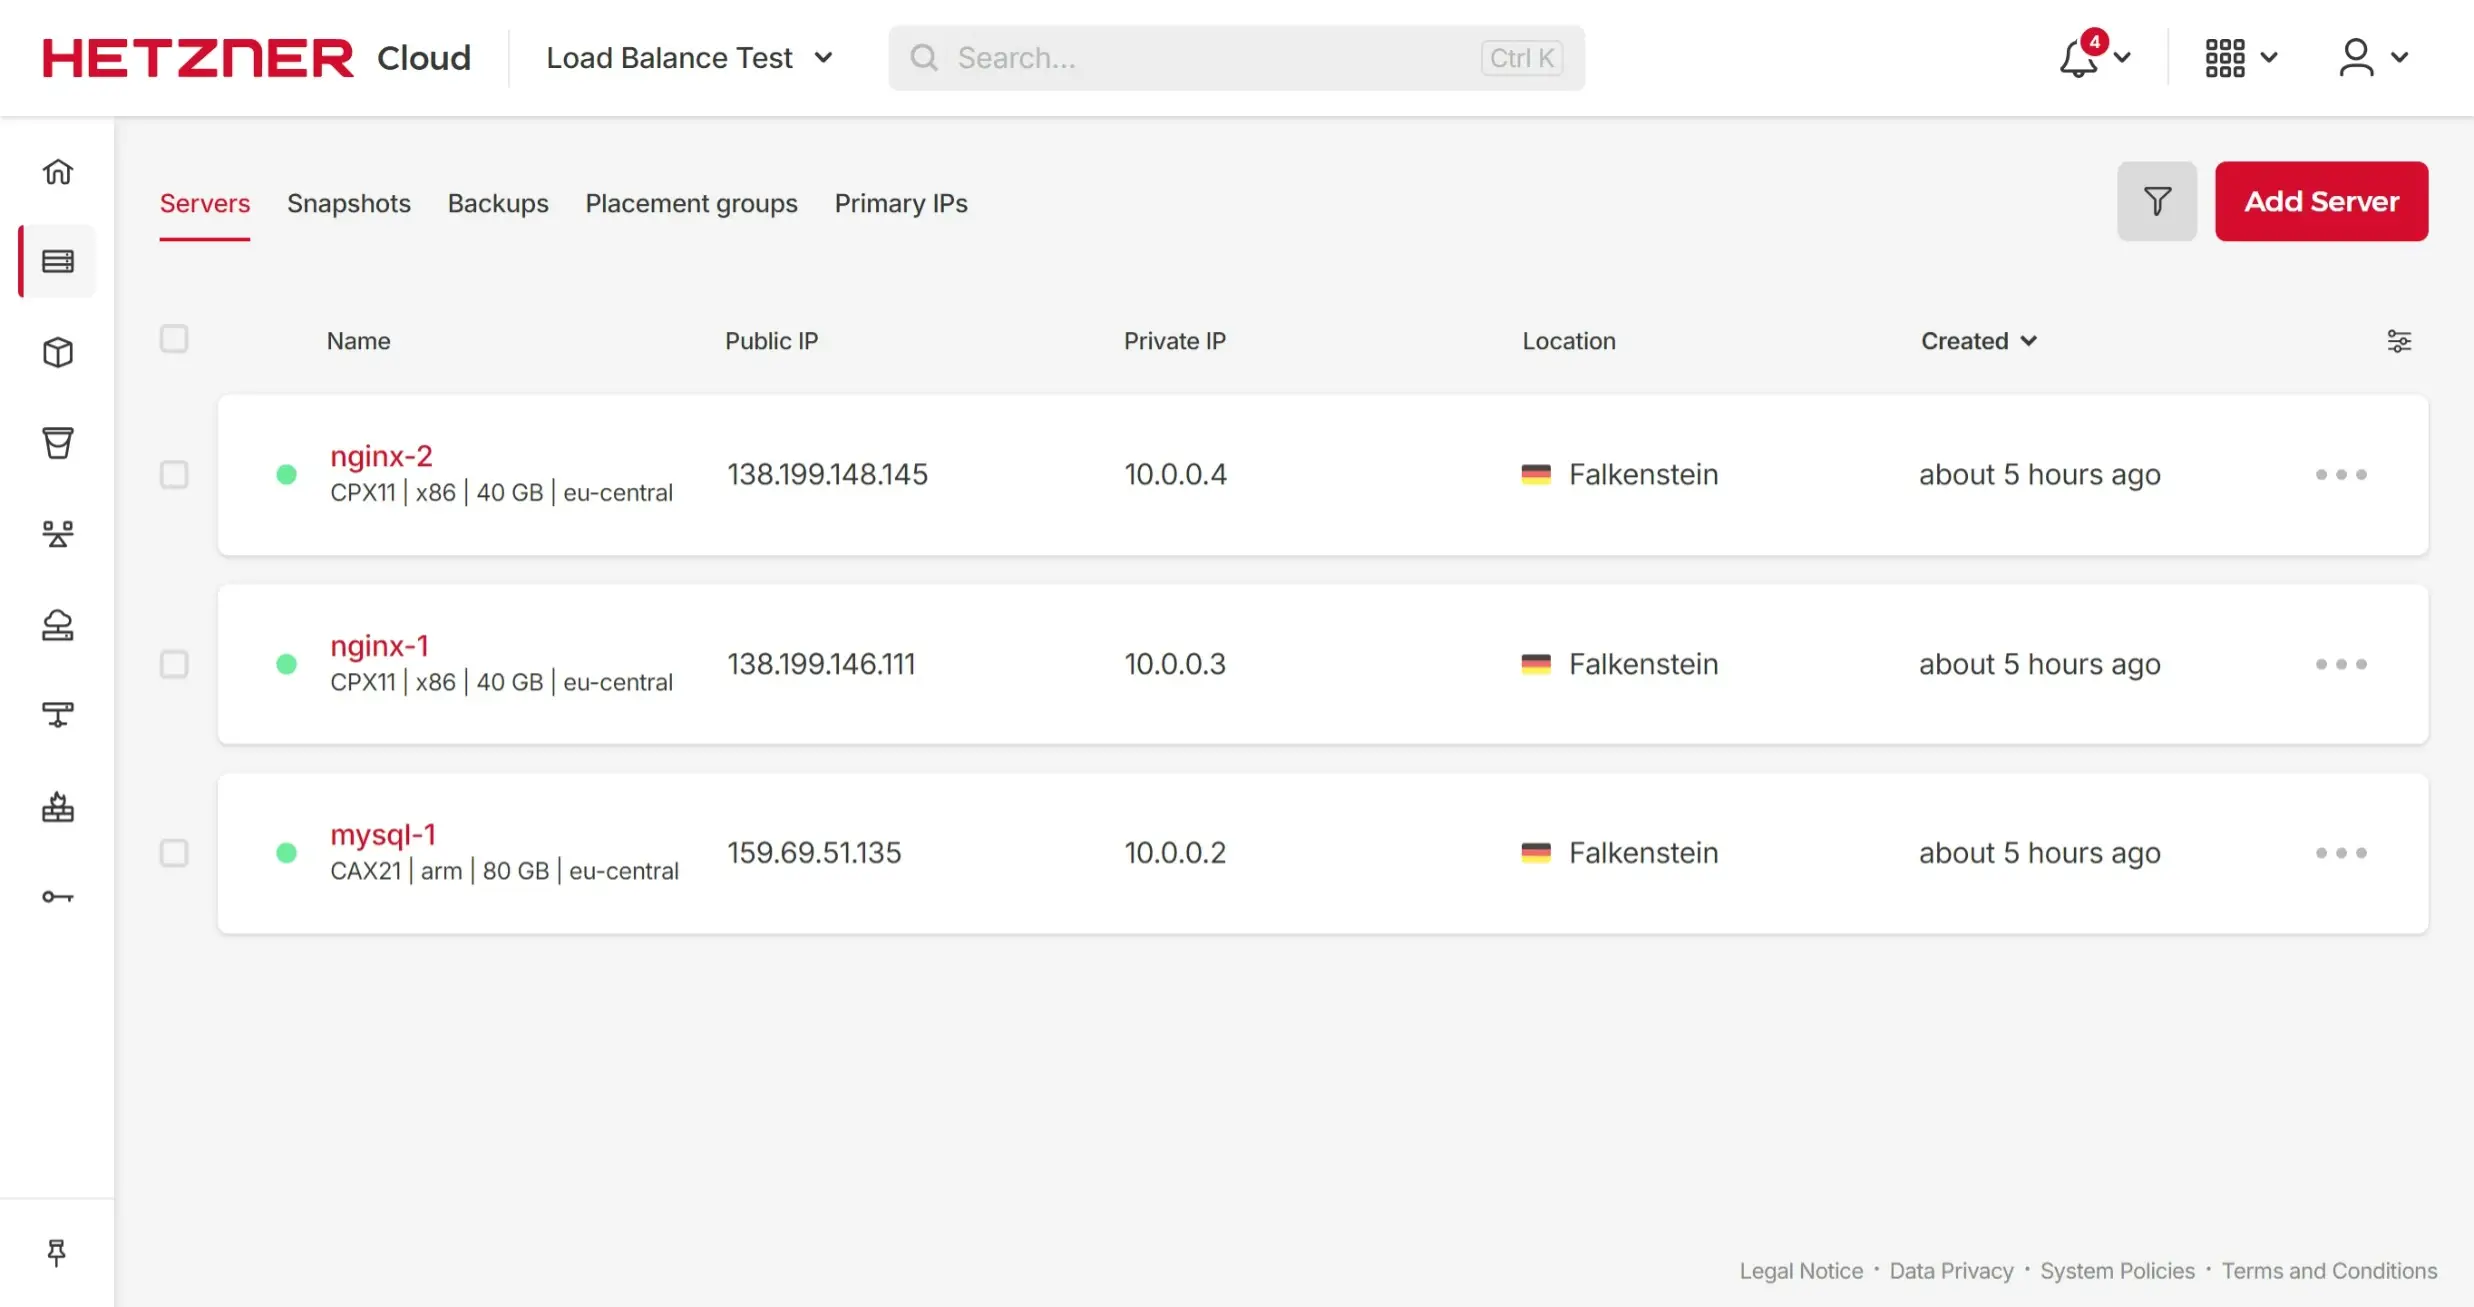
创建主服务器 mysql-1,节点服务器 nginx-1, nginx-2
#Create master mysql-1
root@cloudie-hkg:~/workspace/hcloud# hcloud server create --datacenter fsn1-dc14 --type cax21 --name mysql-1 --image ubuntu-24.04 --ssh-key "development" --network network-1 --placement-group placement-group-1 --user-data-from-file mysql.yml
 ✓ Waiting for create_server       100% 12s (server: 59598425)
 ✓ Waiting for start_server        100% 12s (server: 59598425)
 ✓ Waiting for attach_to_network   100% 12s (server: 59598425, network: 10624472)
Server 59598425 created
IPv4: 159.69.51.135
IPv6: 2a01:4f8:c013:a2cf::1
IPv6 Network: 2a01:4f8:c013:a2cf::/64
Private Networks:
        - 10.0.0.2 (network-1)

#Create VM nginx-1
hcloud server create --datacenter fsn1-dc14 --type cpx11 --name nginx-1 --image debian-12 --ssh-key "development" --network network-1 --placement-group placement-group-1 --user-data-from-file nginx-php-wordpress.yml

#Create VM nginx-2
hcloud server create --datacenter fsn1-dc14 --type cpx11 --name nginx-2 --image debian-12 --ssh-key "development" --network network-1 --placement-group placement-group-1 --user-data-from-file nginx-php-wordpress.yml
创建防火墙并应用到服务器
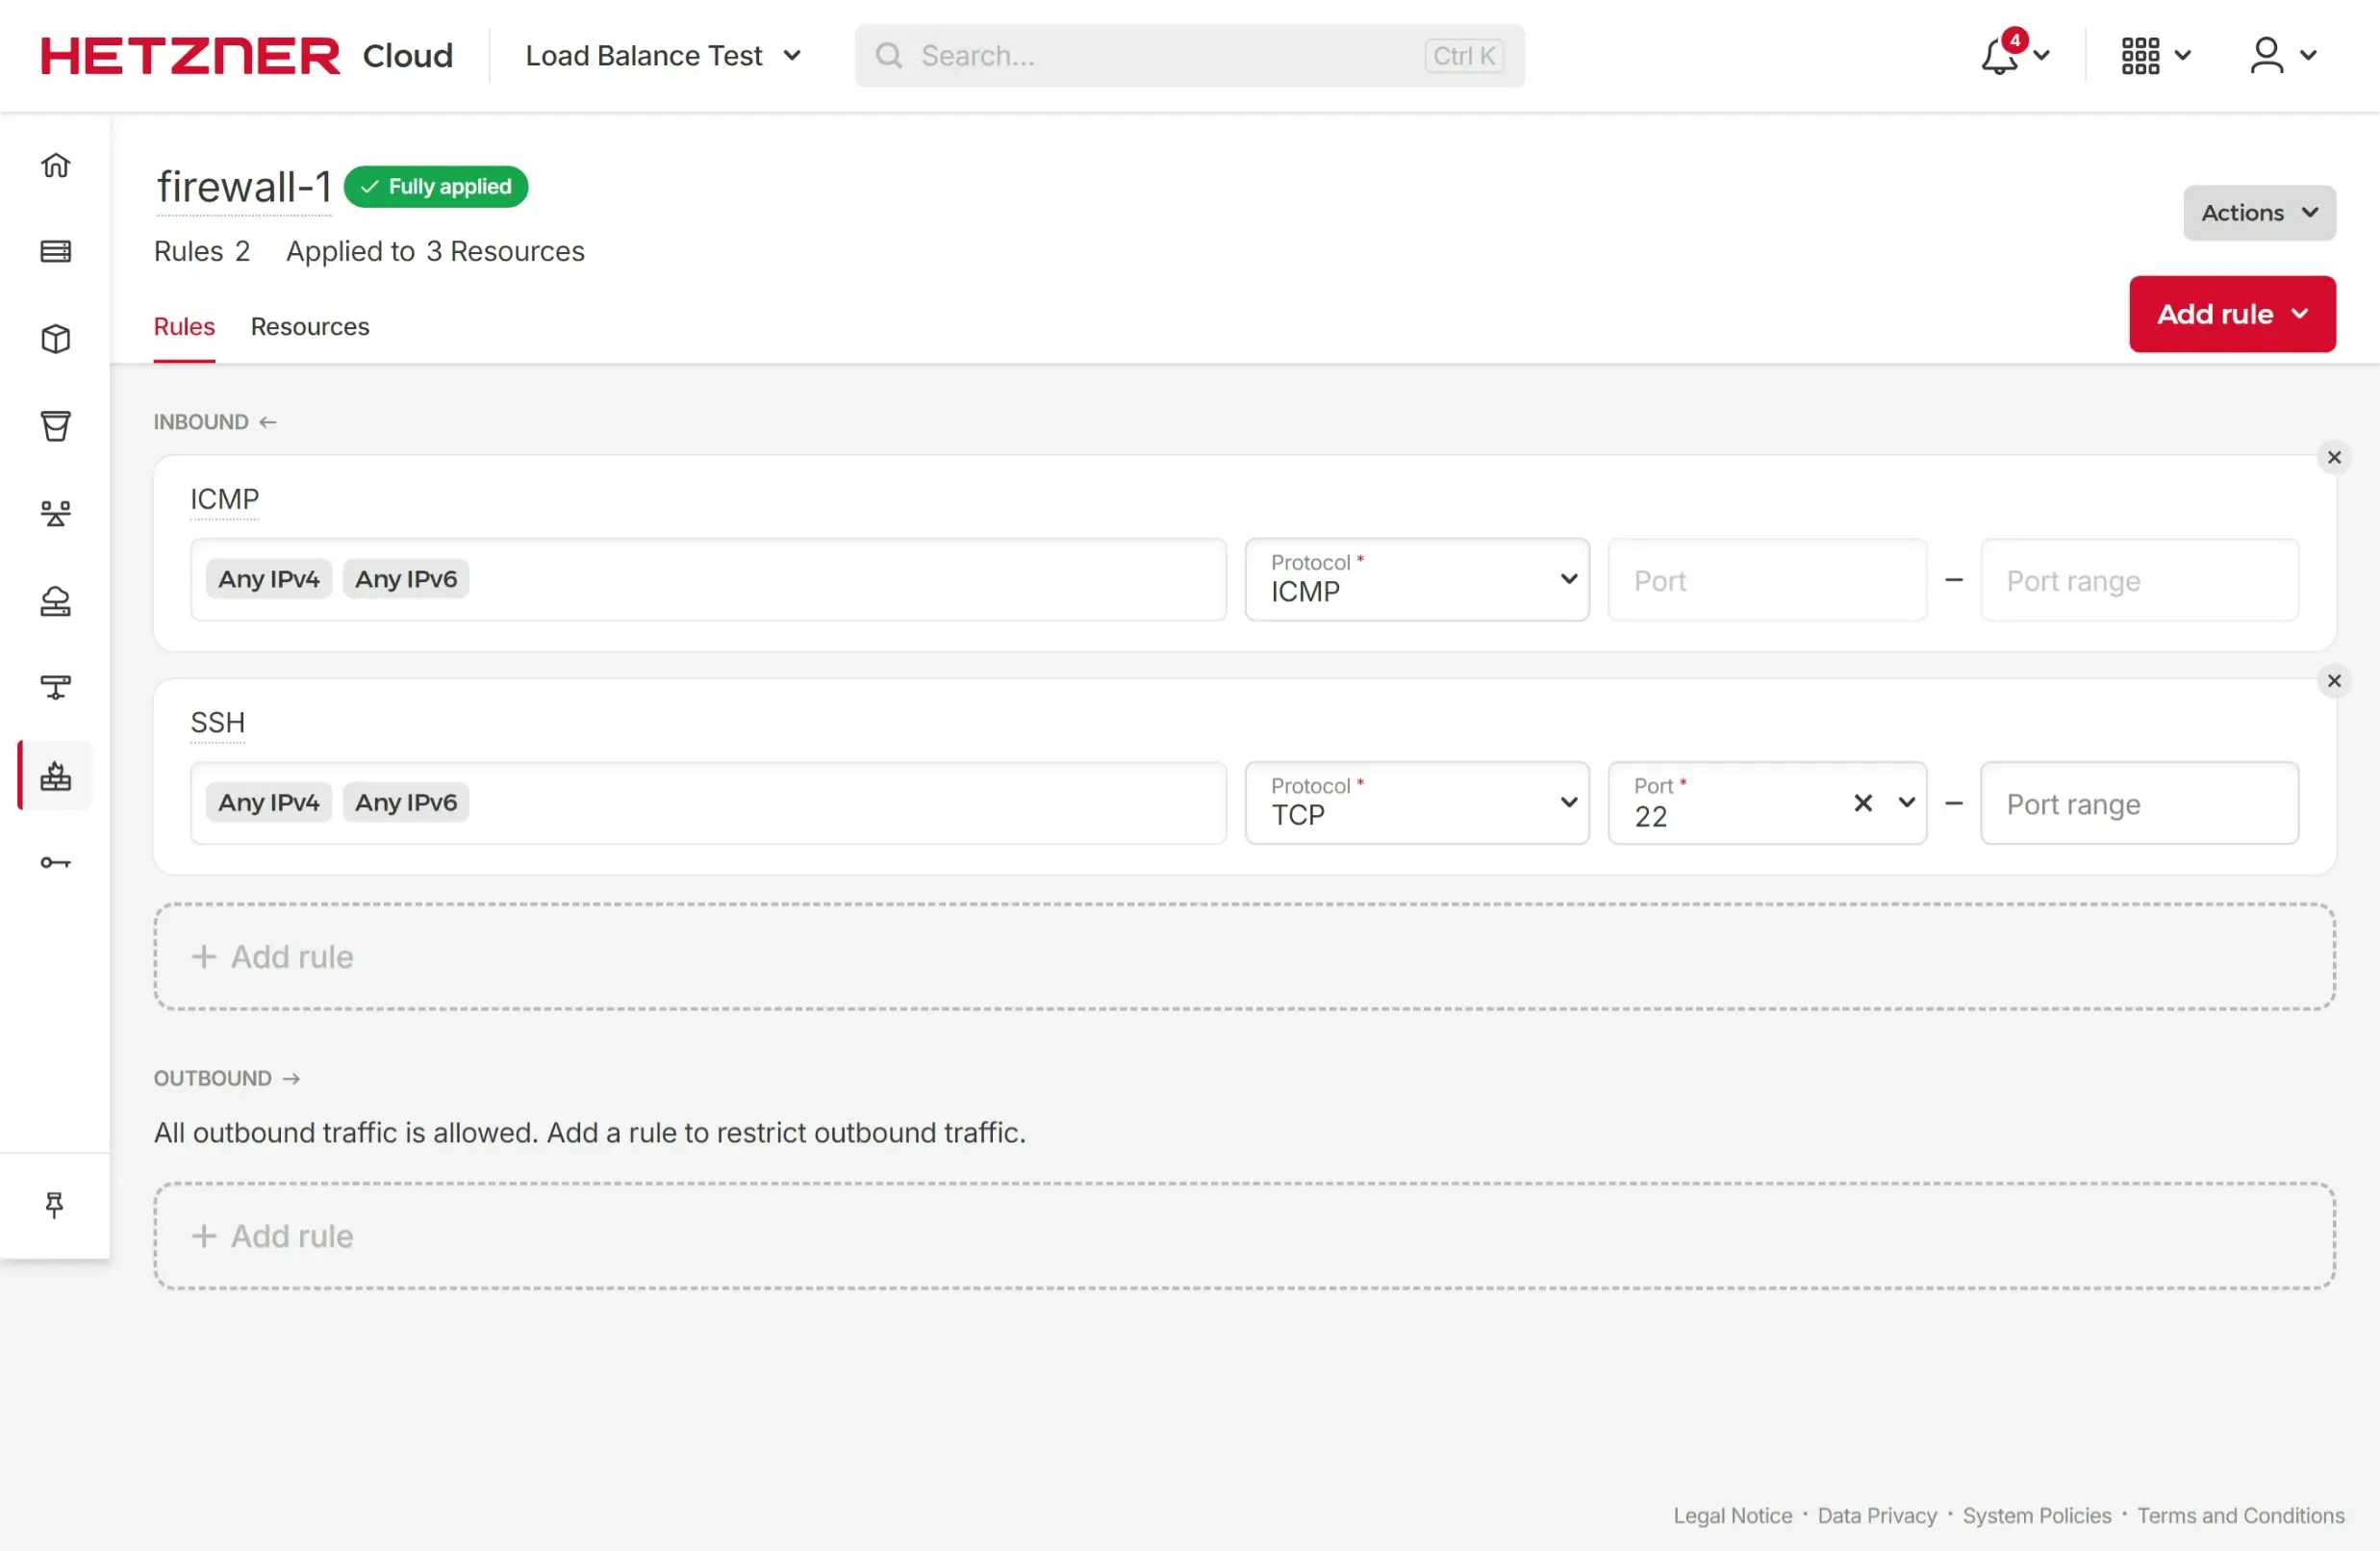
创建 json 文件 firewall-1.json,放行 inbound 的 ICMP, SSH, HTTP, HTTPS
[
  {
    "direction": "in",
    "source_ips": [
      "0.0.0.0/0",
      "::/0"
    ],
    "destination_ips": [],
    "protocol": "icmp",
    "port": null,
    "description": "ICMP"
  },
  {
    "direction": "in",
    "source_ips": [
      "0.0.0.0/0",
      "::/0"
    ],
    "destination_ips": [],
    "protocol": "tcp",
    "port": "22",
    "description": "SSH"
  },
  {
    "direction": "in",
    "source_ips": [
      "0.0.0.0/0",
      "::/0"
    ],
    "destination_ips": [],
    "protocol": "tcp",
    "port": "80",
    "description": "HTTP"
  },
  {
    "direction": "in",
    "source_ips": [
      "0.0.0.0/0",
      "::/0"
    ],
    "destination_ips": [],
    "protocol": "tcp",
    "port": "443",
    "description": "HTTPS"
  }
]
创建防火墙名为 firewall-1 并替换空规则
hcloud firewall create --name firewall-1
hcloud firewall replace-rules --rules-file=firewall-1.json firewall-1
应用到已创建的服务器上
hcloud firewall apply-to-resource firewall-1 --type server --server mysql-1
hcloud firewall apply-to-resource firewall-1 --type server --server nginx-1
hcloud firewall apply-to-resource firewall-1 --type server --server nginx-2
完成以下所有配置后再更新规则限制 inbound 中 80, 443,可删除
创建负载均衡实例
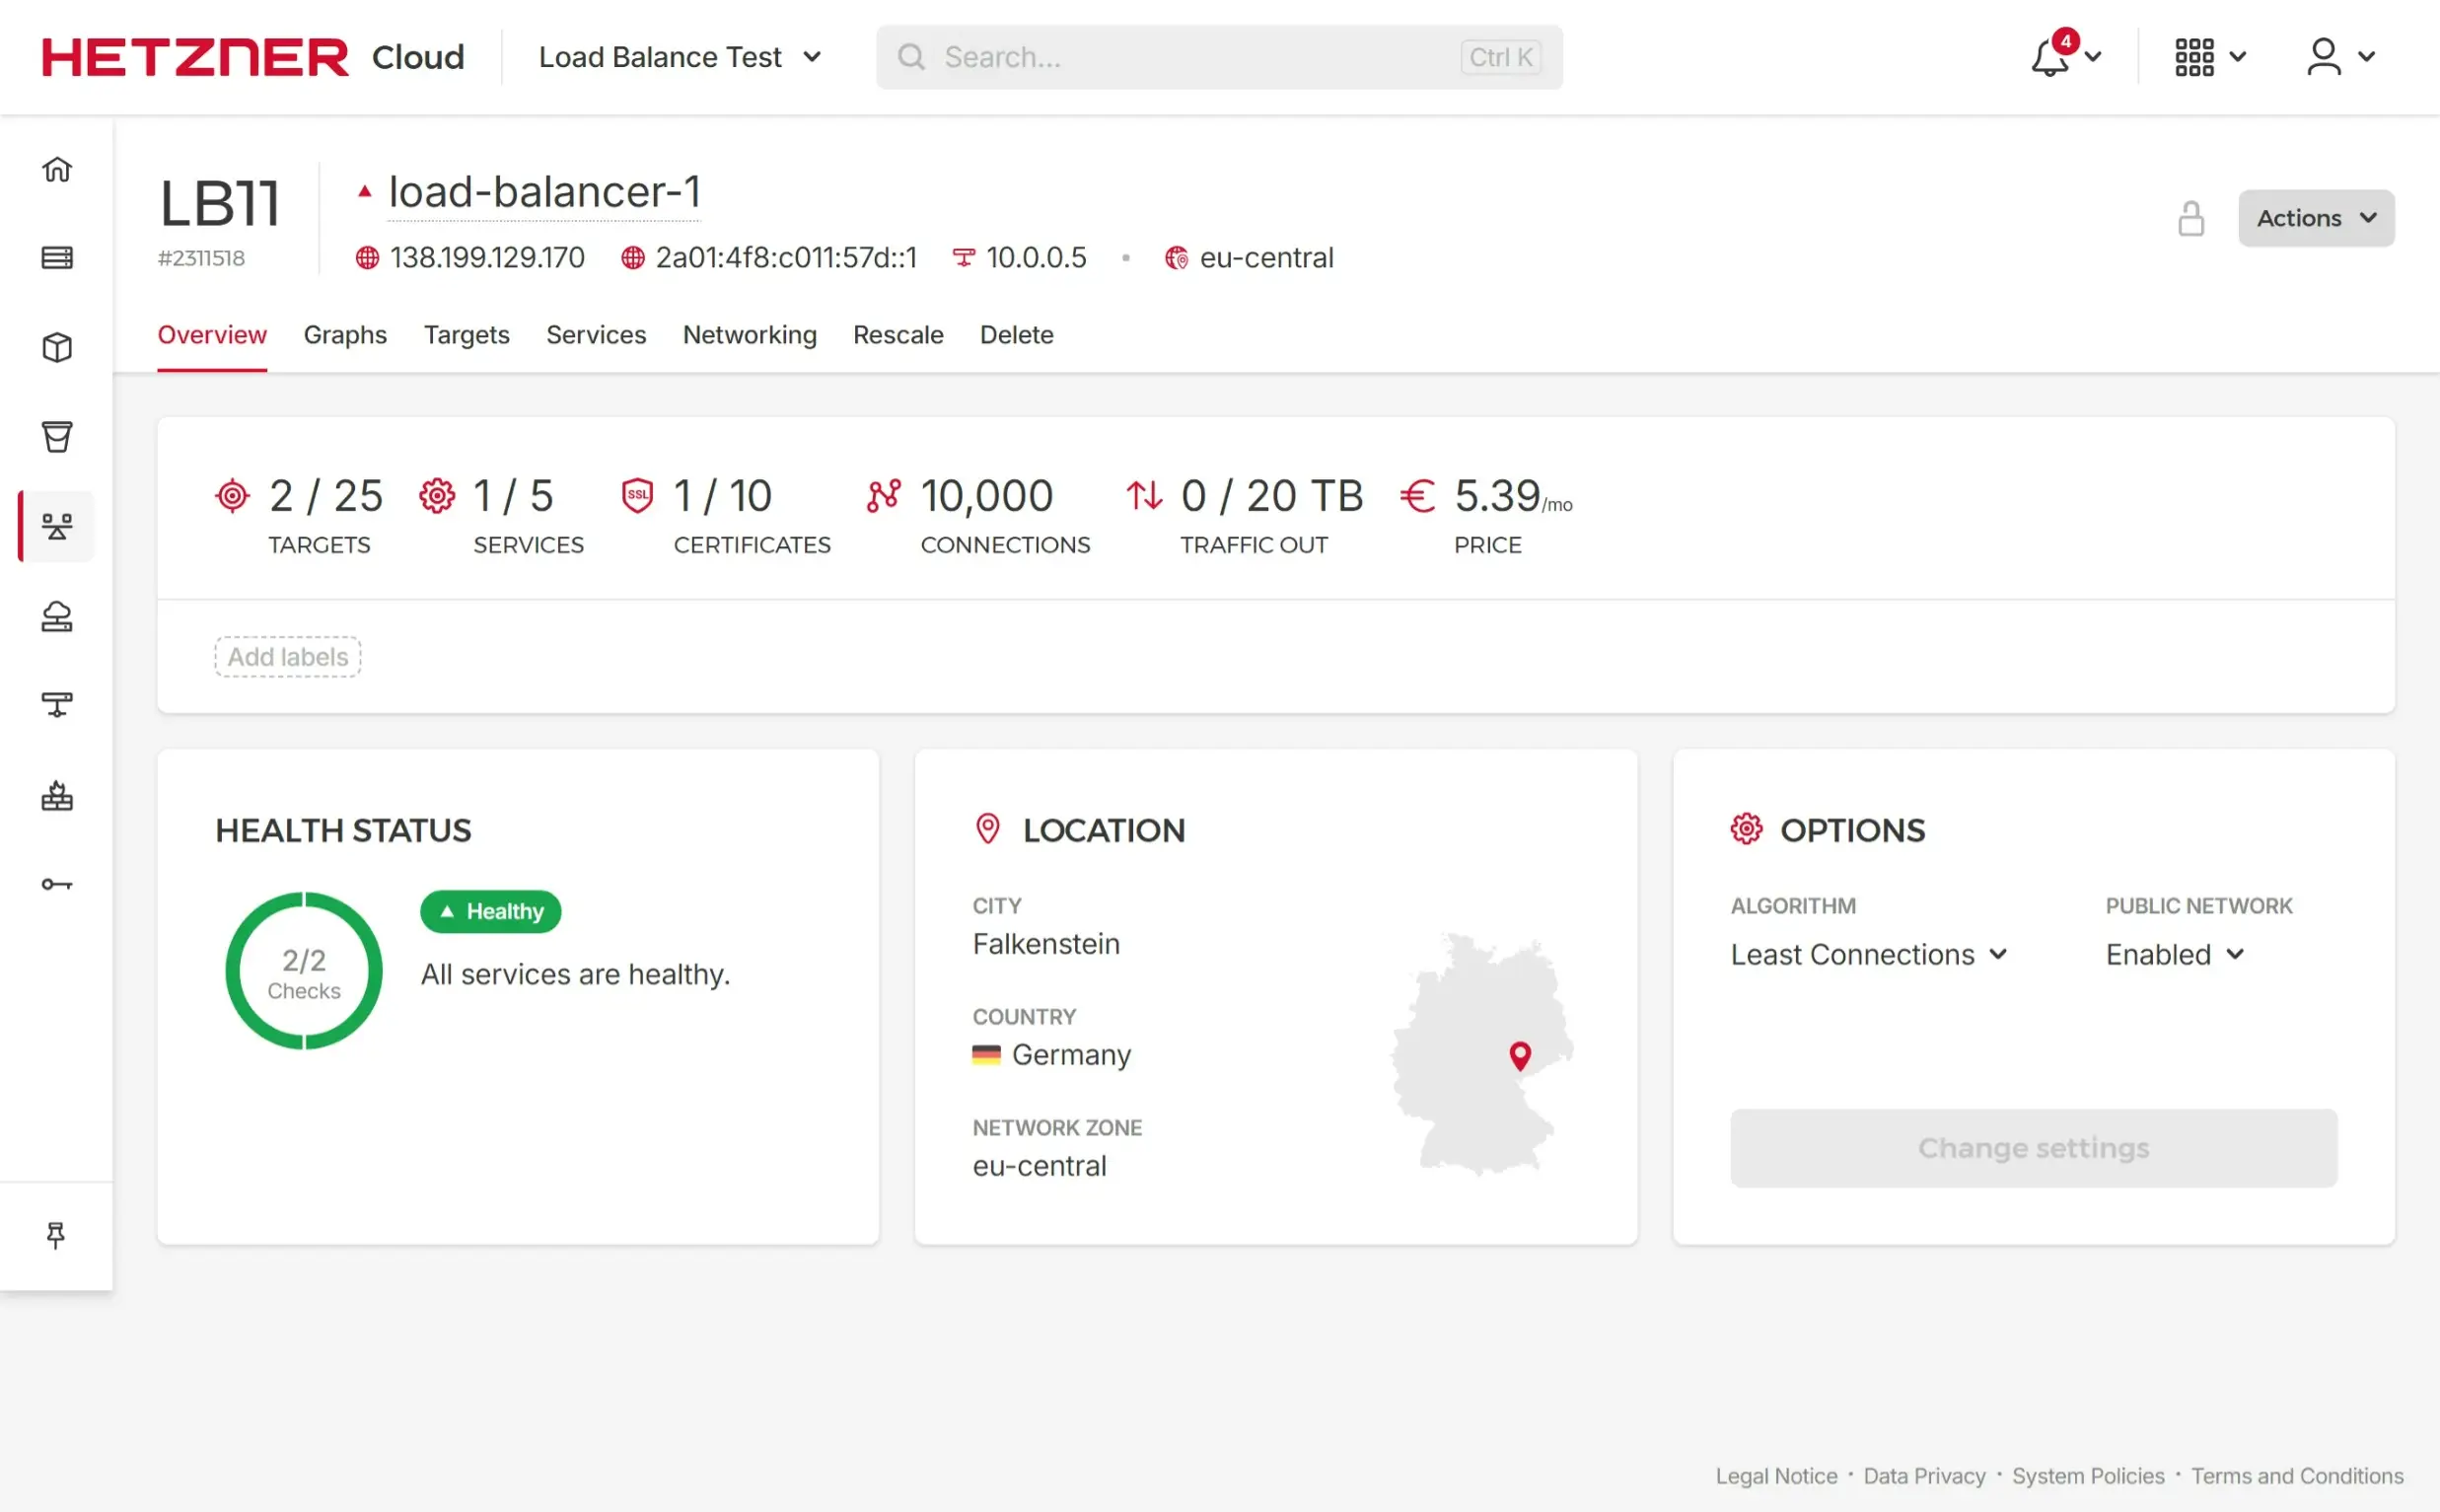
创建负载均衡实例 load-balancer-1 并附加内网 IP,默认顺延,即 10.0.0.5,当然也可以追加参数 --ip 指定 IP
root@cloudie-hkg:~/workspace/hcloud# hcloud load-balancer create --type lb11 --location fsn1 --name load-balancer-1
 ✓ Waiting for create_load_balancer 100% 1.6s (load_balancer: 2311518)
Load Balancer 2311518 created
IPv4: 138.199.129.170
IPv6: 2a01:4f8:c011:57d::1
root@cloudie-hkg:~/workspace/hcloud# hcloud load-balancer attach-to-network --network network-1 load-balancer-1
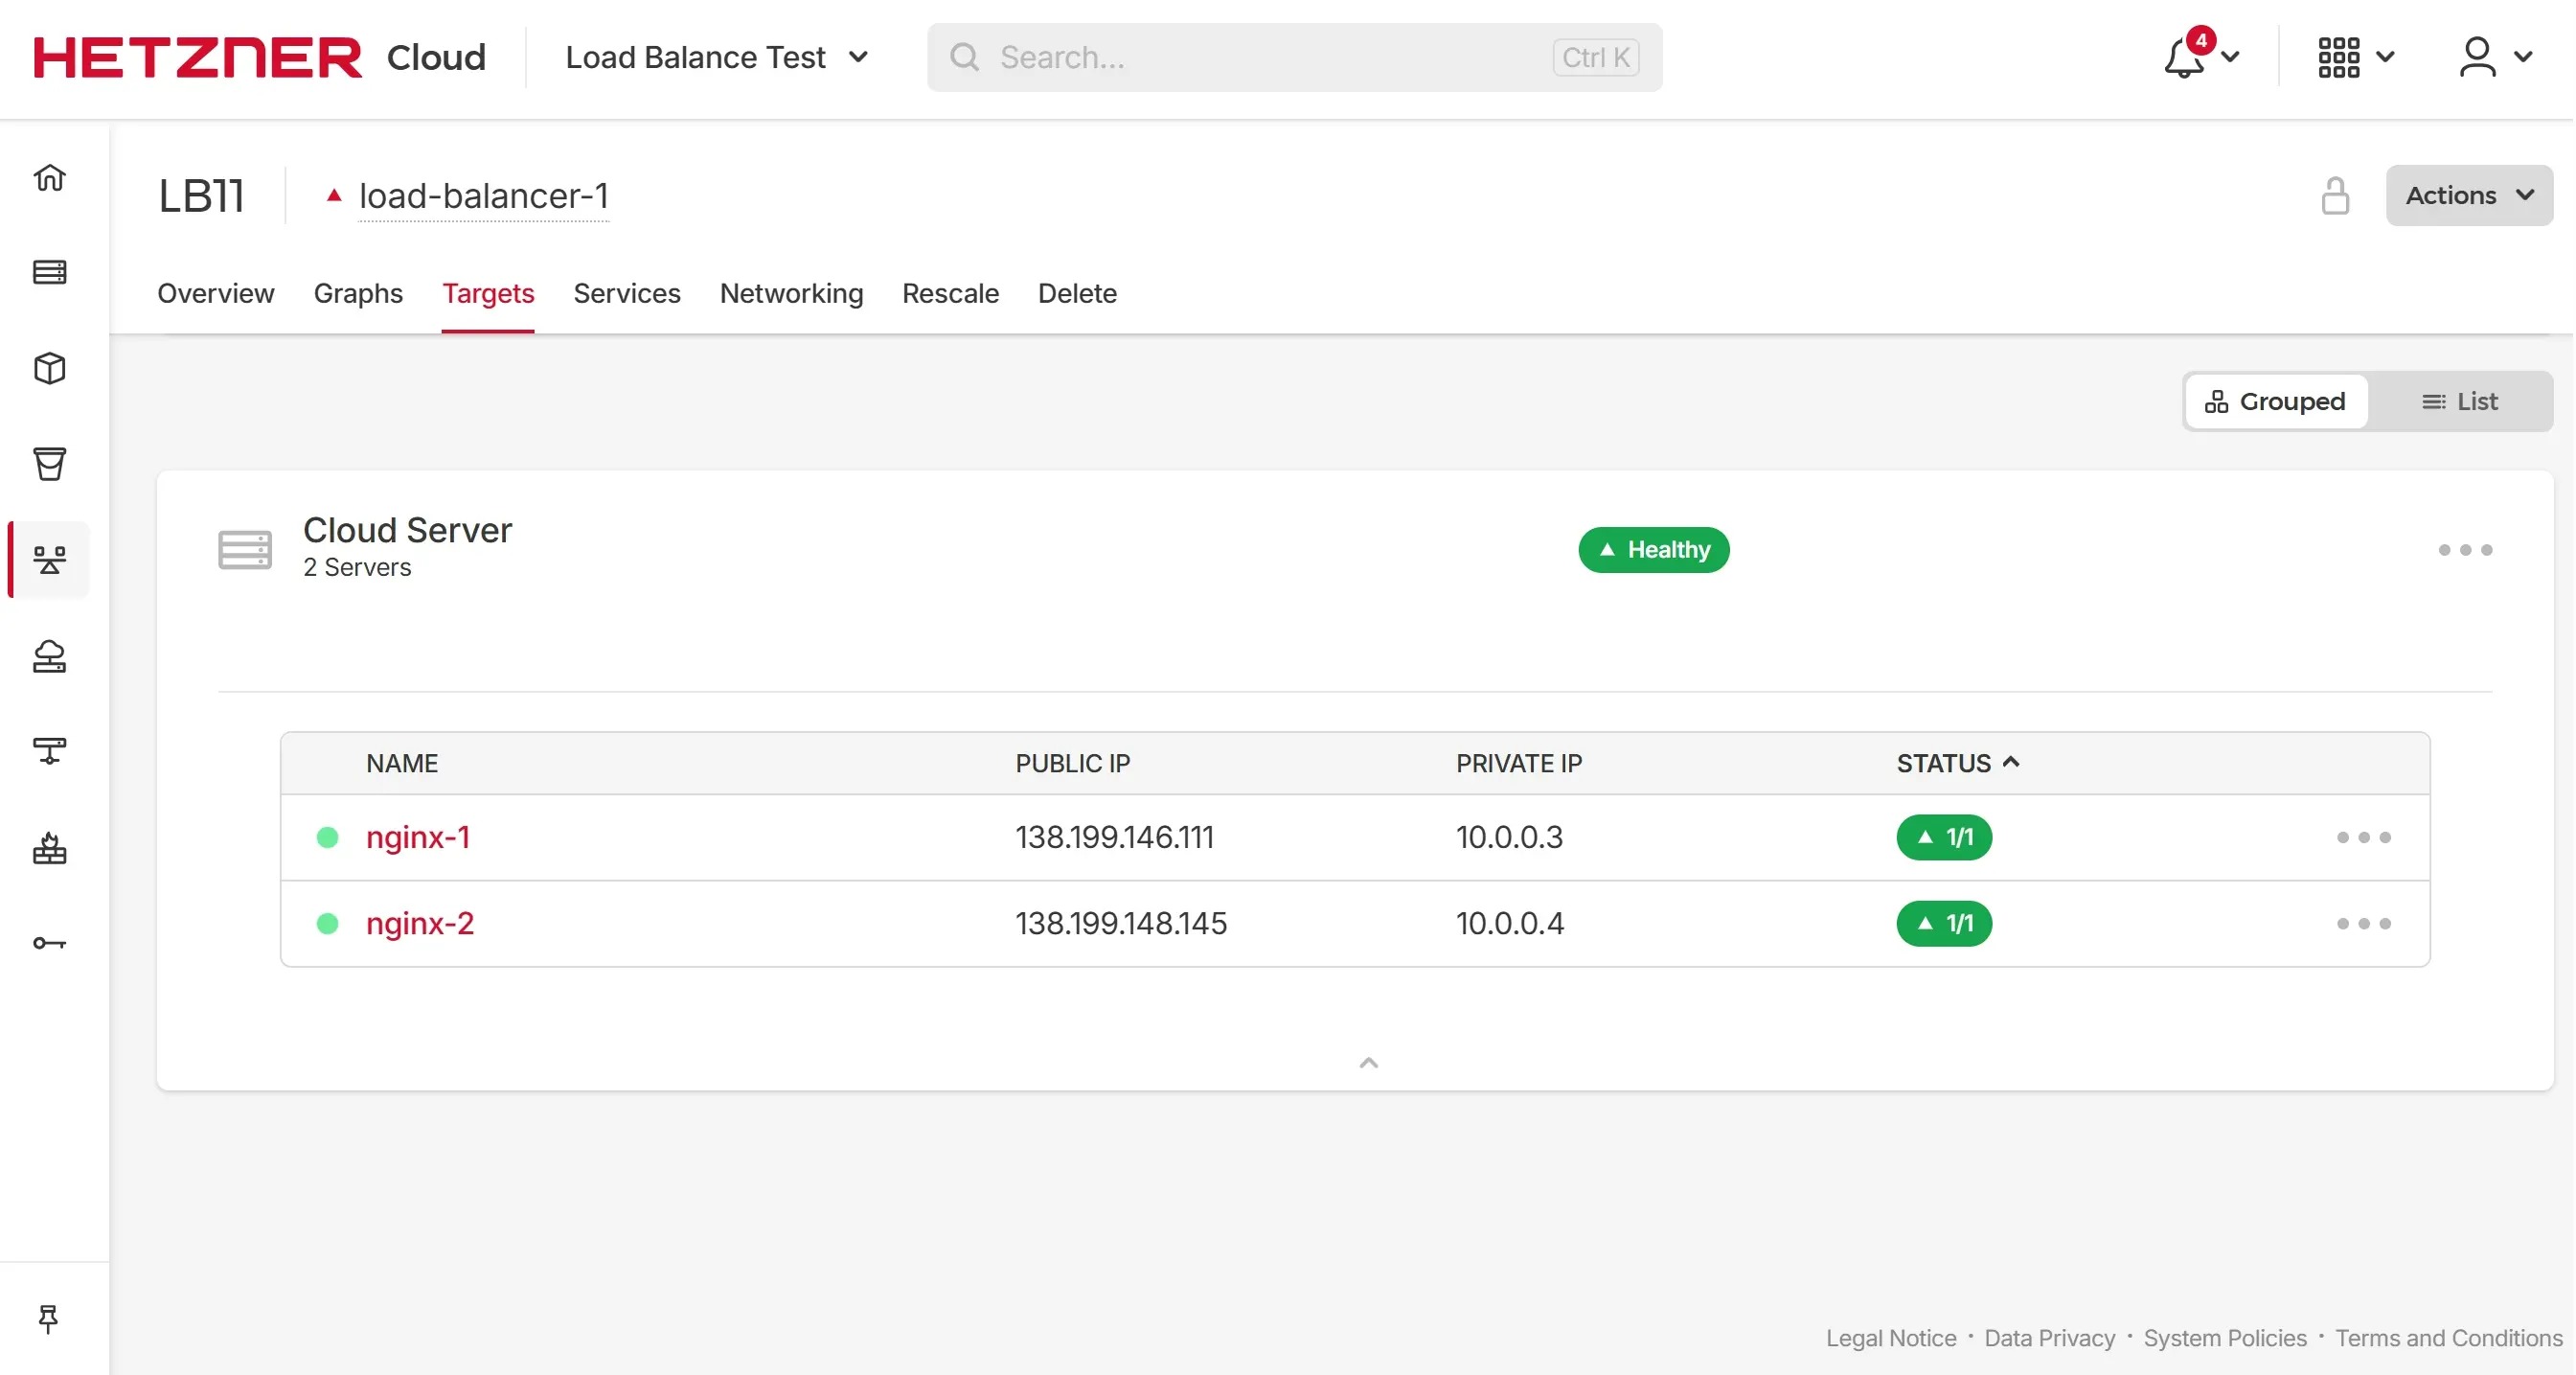
添加目标,确保使用内网 IP
hcloud load-balancer add-target load-balancer-1 --server mysql-1 --use-private-ip
hcloud load-balancer add-target load-balancer-1 --server nginx-1 --use-private-ip
hcloud load-balancer add-target load-balancer-1 --server nginx-2 --use-private-ip
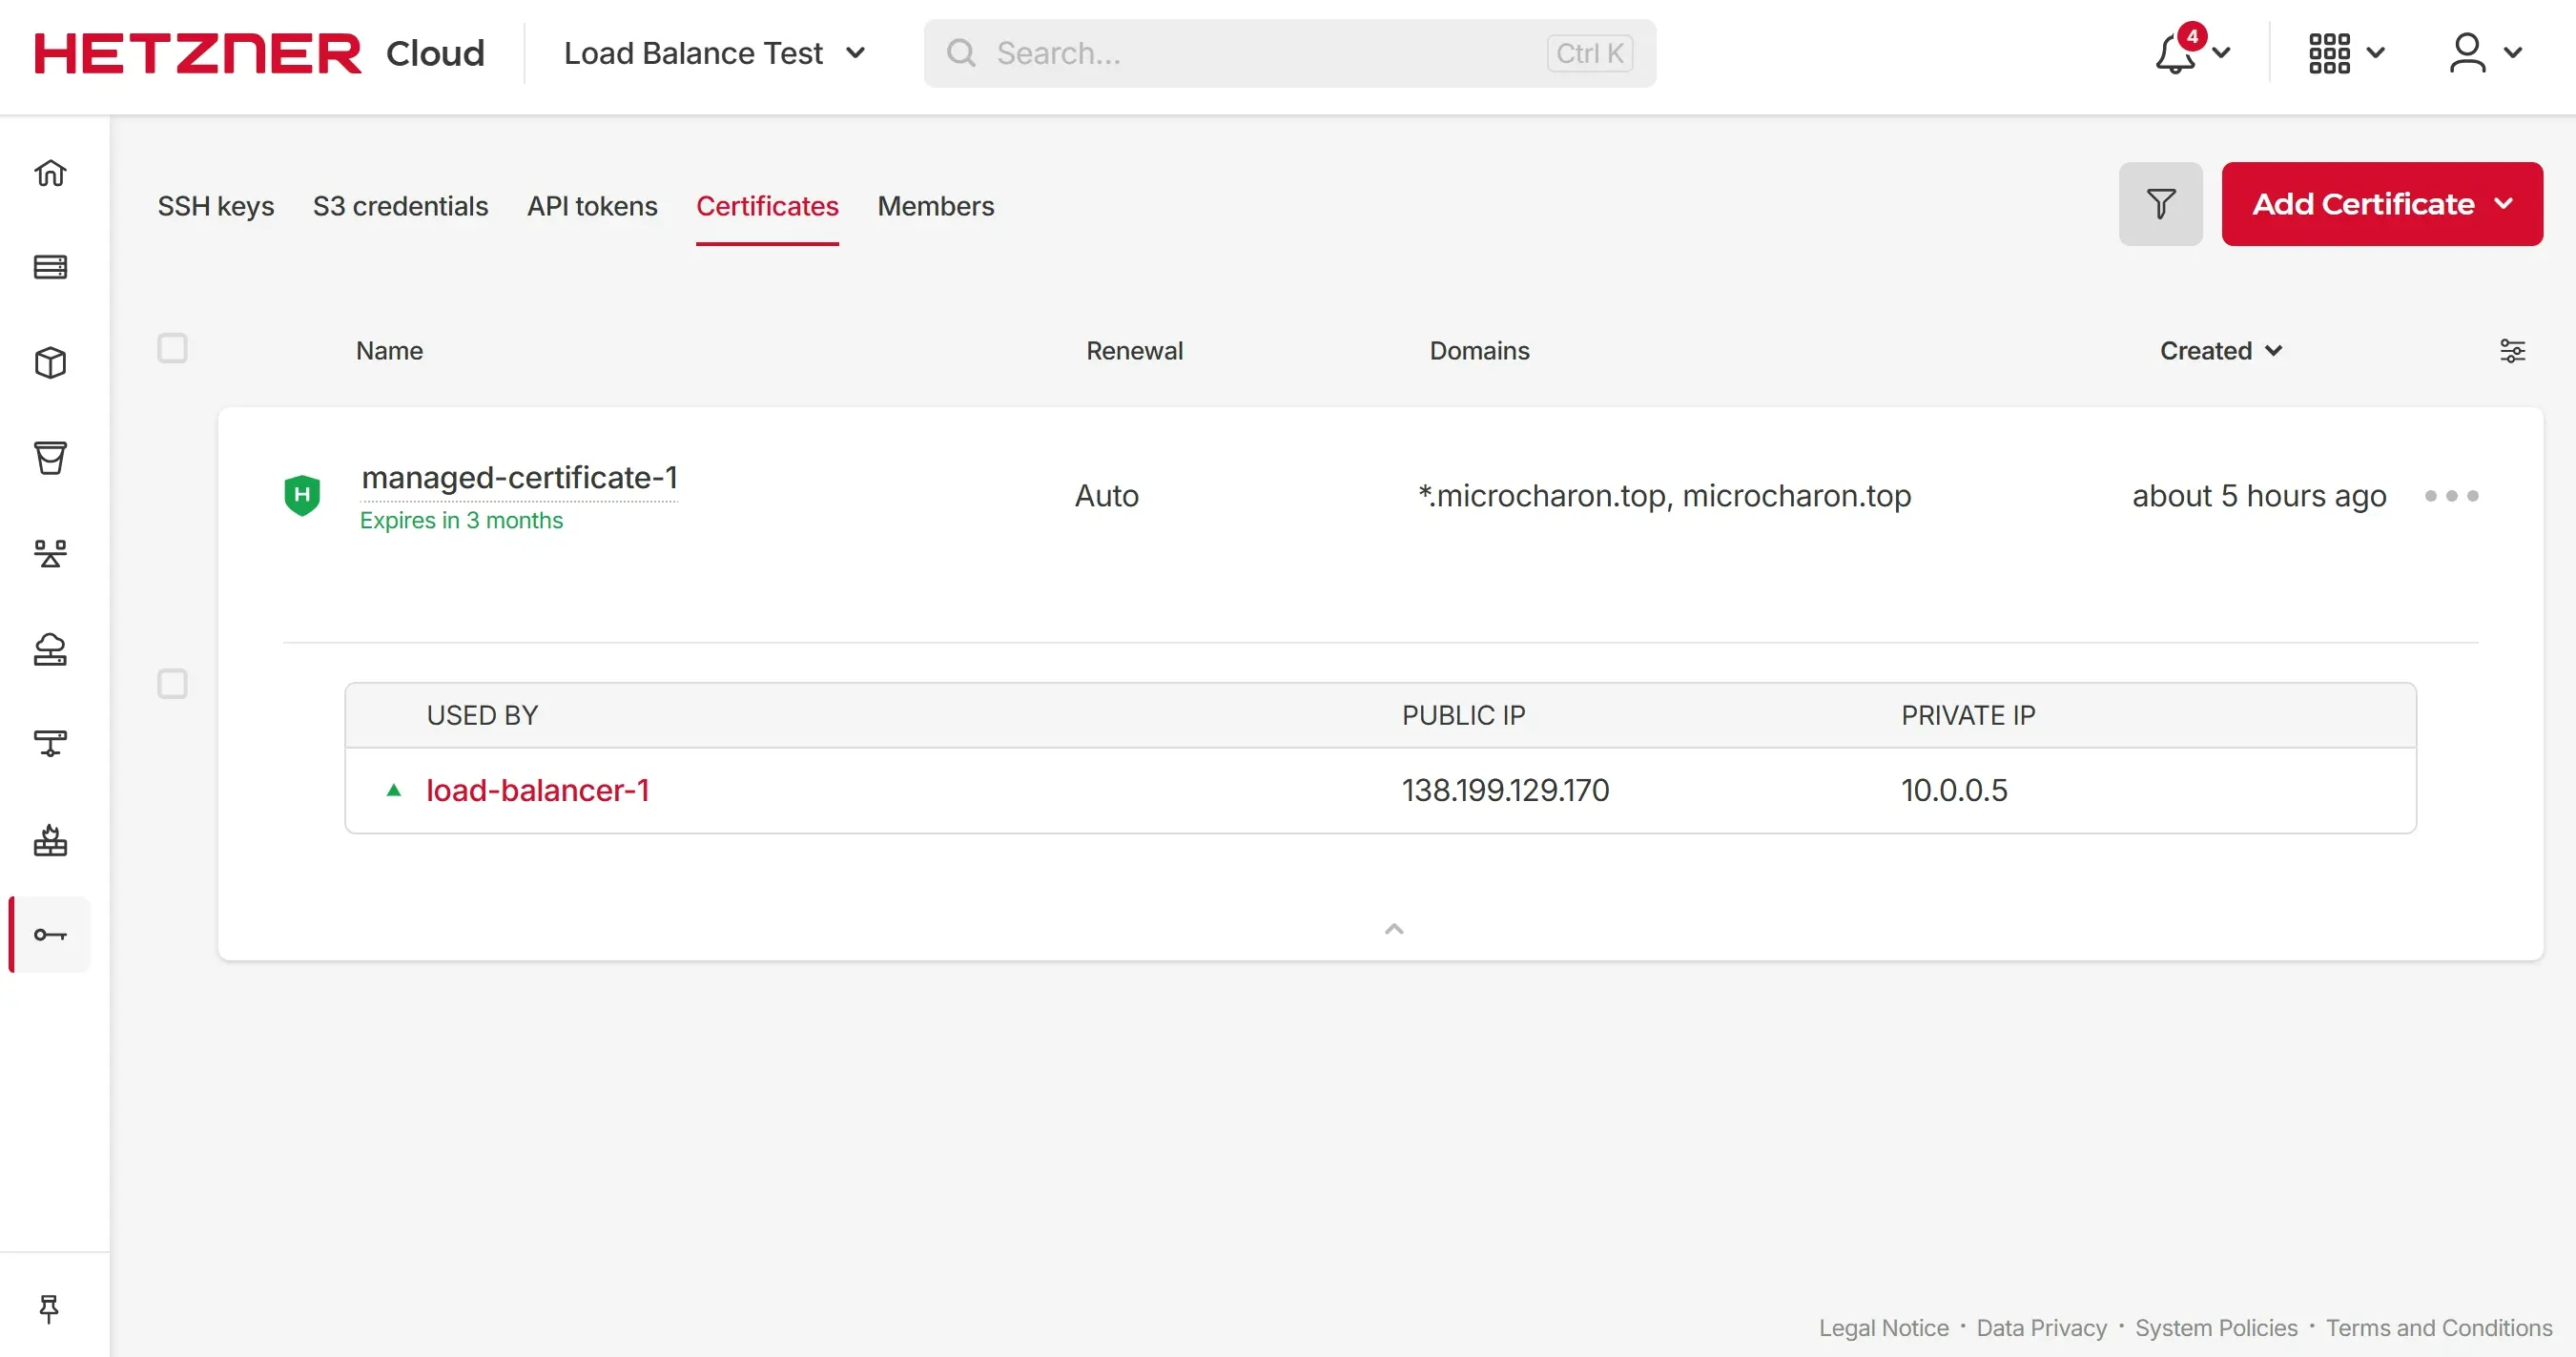
创建托管证书
root@cloudie-hkg:~/workspace/hcloud# hcloud certificate create --domain "*.microcharon.top" --domain "microcharon.top" --type managed --name managed-certificate-1
 ✓ Waiting for create_certificate  100% 33s (certificate: 1391202)
Certificate 1391202 created
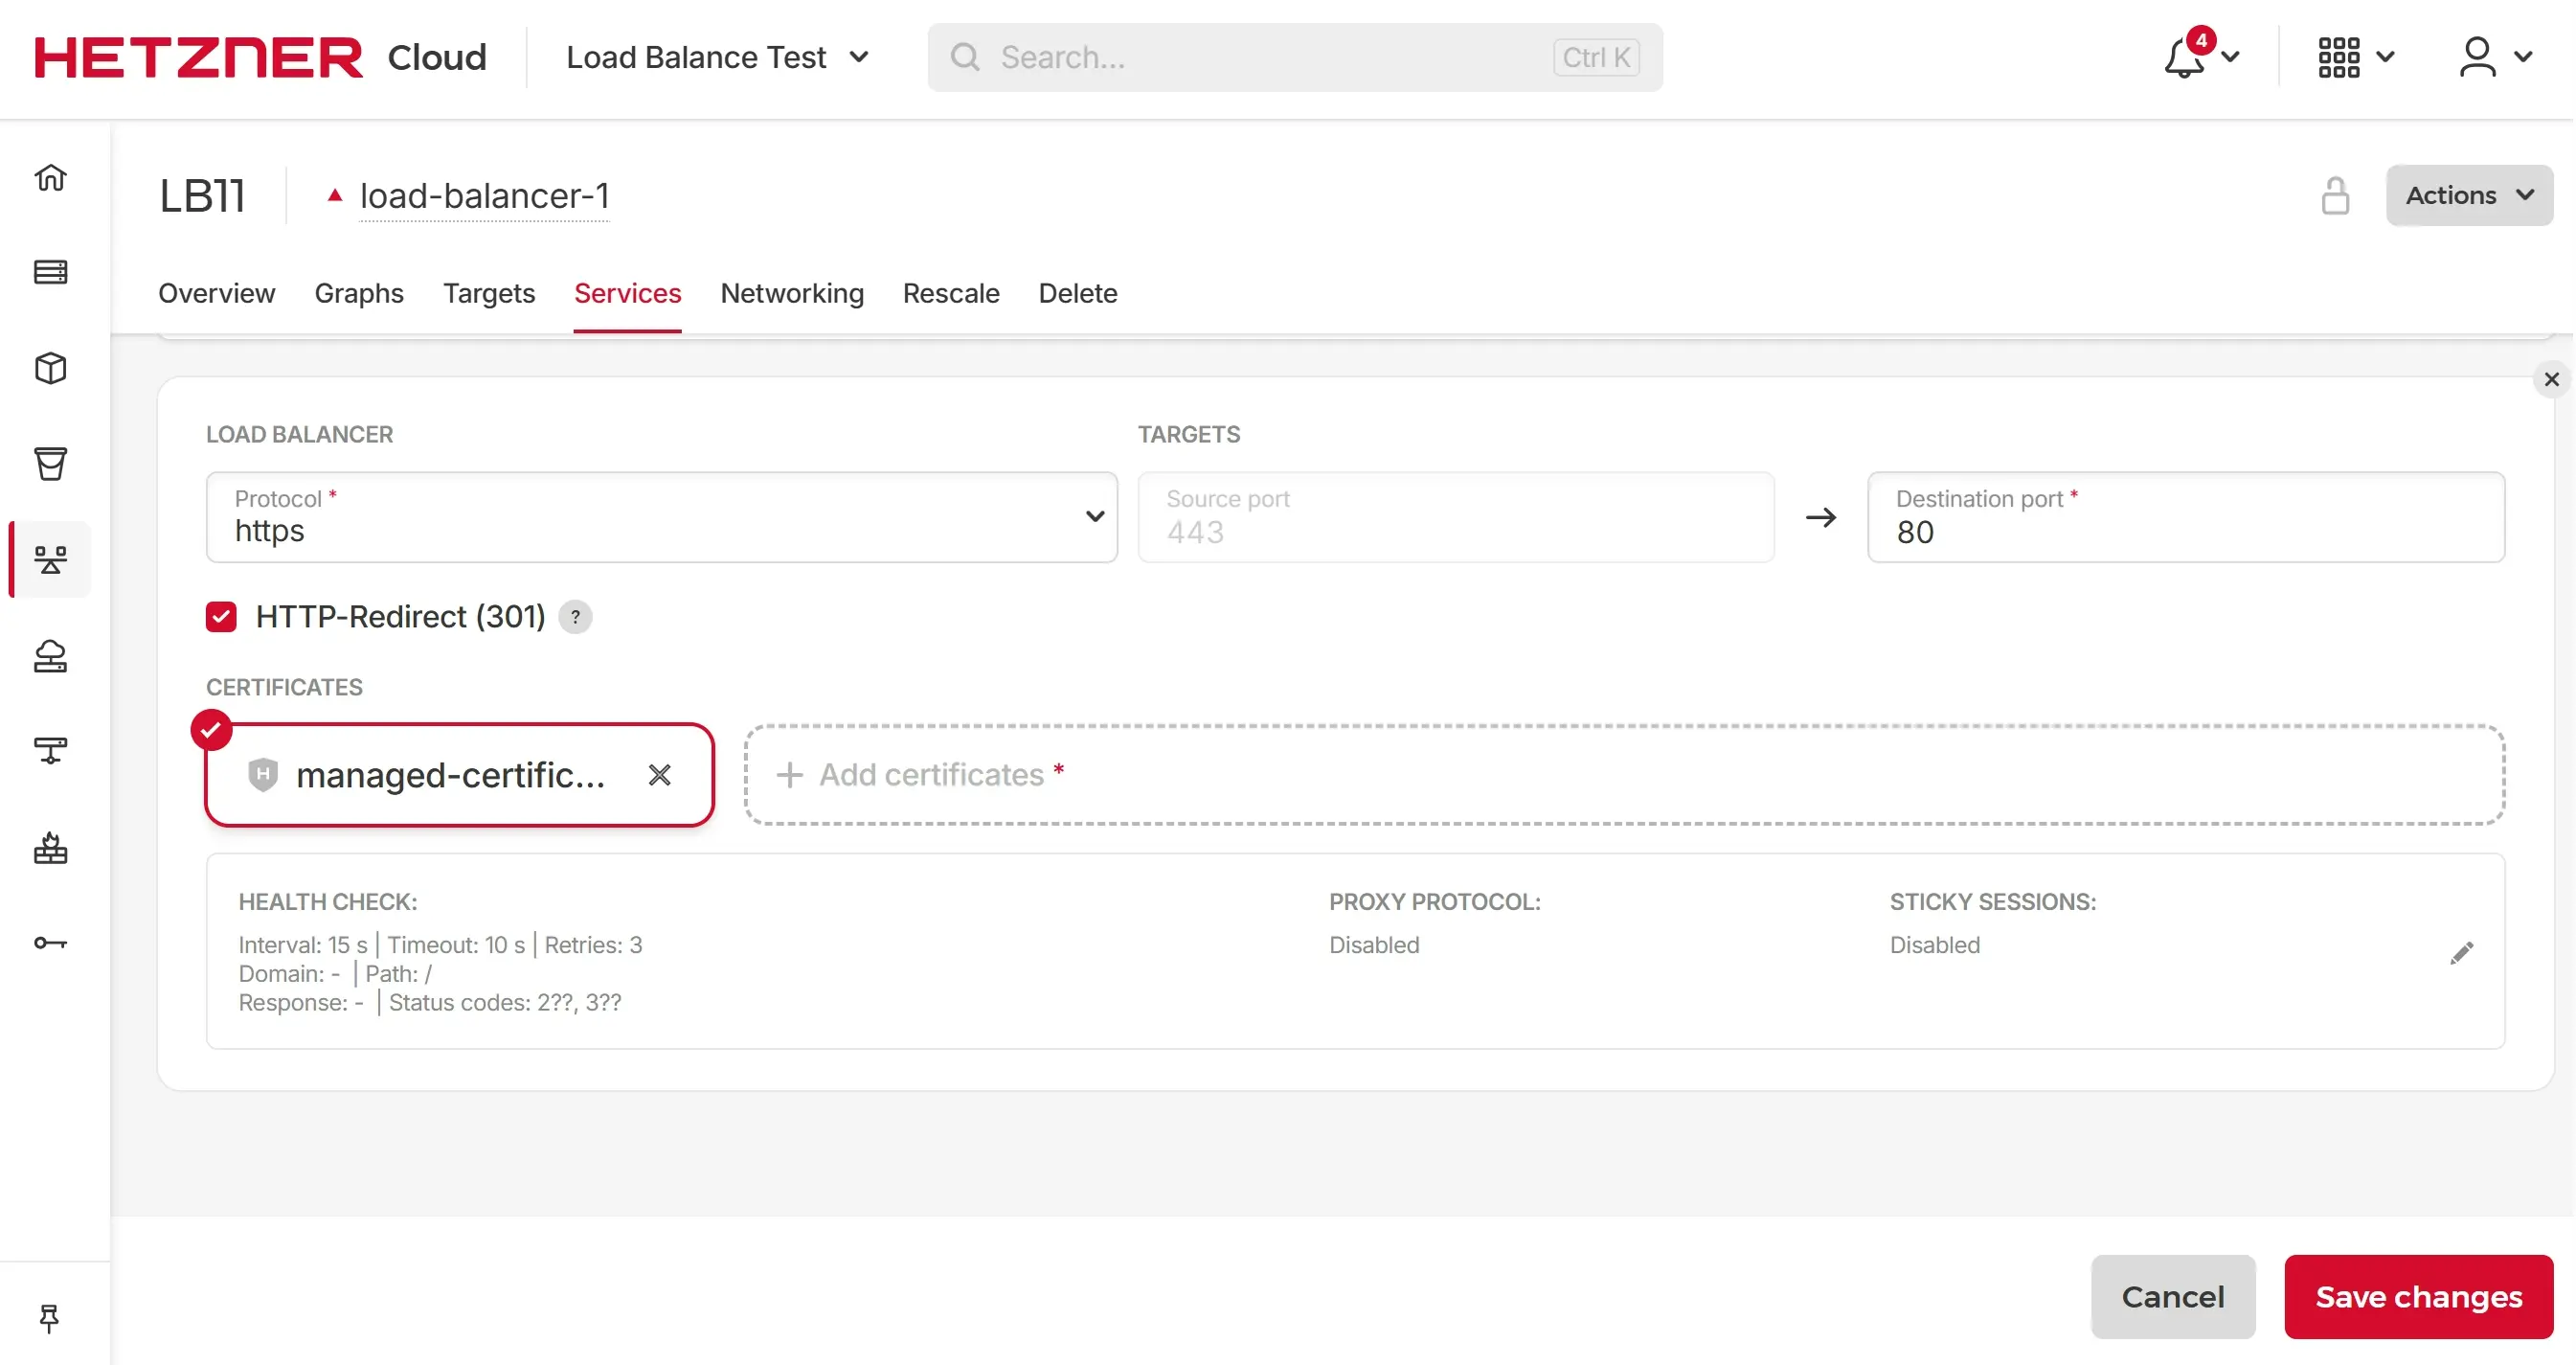
添加服务,source 来源填写 443 端口,destination 终结点 80 端口
hcloud load-balancer add-service load-balancer-1 --protocol https --http-redirect-http --proxy-protocol --http-certificates 1391202
hcloud load-balancer update-service load-balancer-1 --listen-port 443 --health-check-http-domain microcharon.top
WordPress 配置
在实例 mysql-1 上创建 WordPress 数据库名为 wordpress,用于 wordpress 的用户 wp_user
-- Create WordPress database
CREATE DATABASE wordpress;

-- Create user and set password
CREATE USER 'wp_user'@'%' IDENTIFIED BY 'your_password';

-- Grant user "wp_user" all privileges on wordpress
GRANT ALL PRIVILEGES ON wordpress.* TO 'wp_user'@'%';

-- Flush privileges
FLUSH PRIVILEGES;

-- Exit MySQL
EXIT;
在 nginx-1, nginx-2 上新建 wp-config.php 放置在网站根目录下,define( 'DB_PASSWORD', 'password' ); 中请设置为连接到数据库的密码
<?php
/**
 * The base configuration for WordPress
 *
 * The wp-config.php creation script uses this file during the installation.
 * You don't have to use the website, you can copy this file to "wp-config.php"
 * and fill in the values.
 *
 * This file contains the following configurations:
 *
 * * Database settings
 * * Secret keys
 * * Database table prefix
 * * ABSPATH
 *
 * @link https://developer.wordpress.org/advanced-administration/wordpress/wp-config/
 *
 * @package WordPress
 */
define('FORCE_SSL_ADMIN', true);
define('FORCE_SSL_LOGIN', true);
$_SERVER['HTTPS']='on';

// ** Database settings - You can get this info from your web host ** //
/** The name of the database for WordPress */
define( 'DB_NAME', 'wordpress' );

/** Database username */
define( 'DB_USER', 'wp_user' );

/** Database password */
define( 'DB_PASSWORD', 'password' );

/** Database hostname */
define( 'DB_HOST', '10.0.0.2' );

/** Database charset to use in creating database tables. */
define( 'DB_CHARSET', 'utf8' );

/** The database collate type. Don't change this if in doubt. */
define( 'DB_COLLATE', '' );

/**#@+
 * Authentication unique keys and salts.
 *
 * Change these to different unique phrases! You can generate these using
 * the {@link https://api.wordpress.org/secret-key/1.1/salt/ WordPress.org secret-key service}.
 *
 * You can change these at any point in time to invalidate all existing cookies.
 * This will force all users to have to log in again.
 *
 * @since 2.6.0
 */
define( 'AUTH_KEY',         'put your unique phrase here' );
define( 'SECURE_AUTH_KEY',  'put your unique phrase here' );
define( 'LOGGED_IN_KEY',    'put your unique phrase here' );
define( 'NONCE_KEY',        'put your unique phrase here' );
define( 'AUTH_SALT',        'put your unique phrase here' );
define( 'SECURE_AUTH_SALT', 'put your unique phrase here' );
define( 'LOGGED_IN_SALT',   'put your unique phrase here' );
define( 'NONCE_SALT',       'put your unique phrase here' );

/**#@-*/

/**
 * WordPress database table prefix.
 *
 * You can have multiple installations in one database if you give each
 * a unique prefix. Only numbers, letters, and underscores please!
 *
 * At the installation time, database tables are created with the specified prefix.
 * Changing this value after WordPress is installed will make your site think
 * it has not been installed.
 *
 * @link https://developer.wordpress.org/advanced-administration/wordpress/wp-config/#table-prefix
 */
$table_prefix = 'wp_';

/**
 * For developers: WordPress debugging mode.
 *
 * Change this to true to enable the display of notices during development.
 * It is strongly recommended that plugin and theme developers use WP_DEBUG
 * in their development environments.
 *
 * For information on other constants that can be used for debugging,
 * visit the documentation.
 *
 * @link https://developer.wordpress.org/advanced-administration/debug/debug-wordpress/
 */
define( 'WP_DEBUG', false );

/* Add any custom values between this line and the "stop editing" line. */

/* That's all, stop editing! Happy publishing. */

/** Absolute path to the WordPress directory. */
if ( ! defined( 'ABSPATH' ) ) {
        define( 'ABSPATH', __DIR__ . '/' );
}

/** Sets up WordPress vars and included files. */
require_once ABSPATH . 'wp-settings.php';
define('WP_DEBUG', true);
define('WP_DEBUG_LOG', true);
define('WP_DEBUG_DISPLAY', false);
define('WP_HOME', 'https://microcharon.top');
define('WP_SITEURL', 'https://microcharon.top');
在 wp-includes/functions.php 中 require ABSPATH . WPINC . '/option.php'; 下增加如下代码
add_filter('script_loader_src', 'agnostic_script_loader_src', 20,2); function agnostic_script_loader_src($src, $handle) { return preg_replace('/^(http|https):/', '', $src); }
add_filter('style_loader_src', 'agnostic_style_loader_src', 20,2); function agnostic_style_loader_src($src, $handle) { return preg_replace('/^(http|https):/', '', $src); }
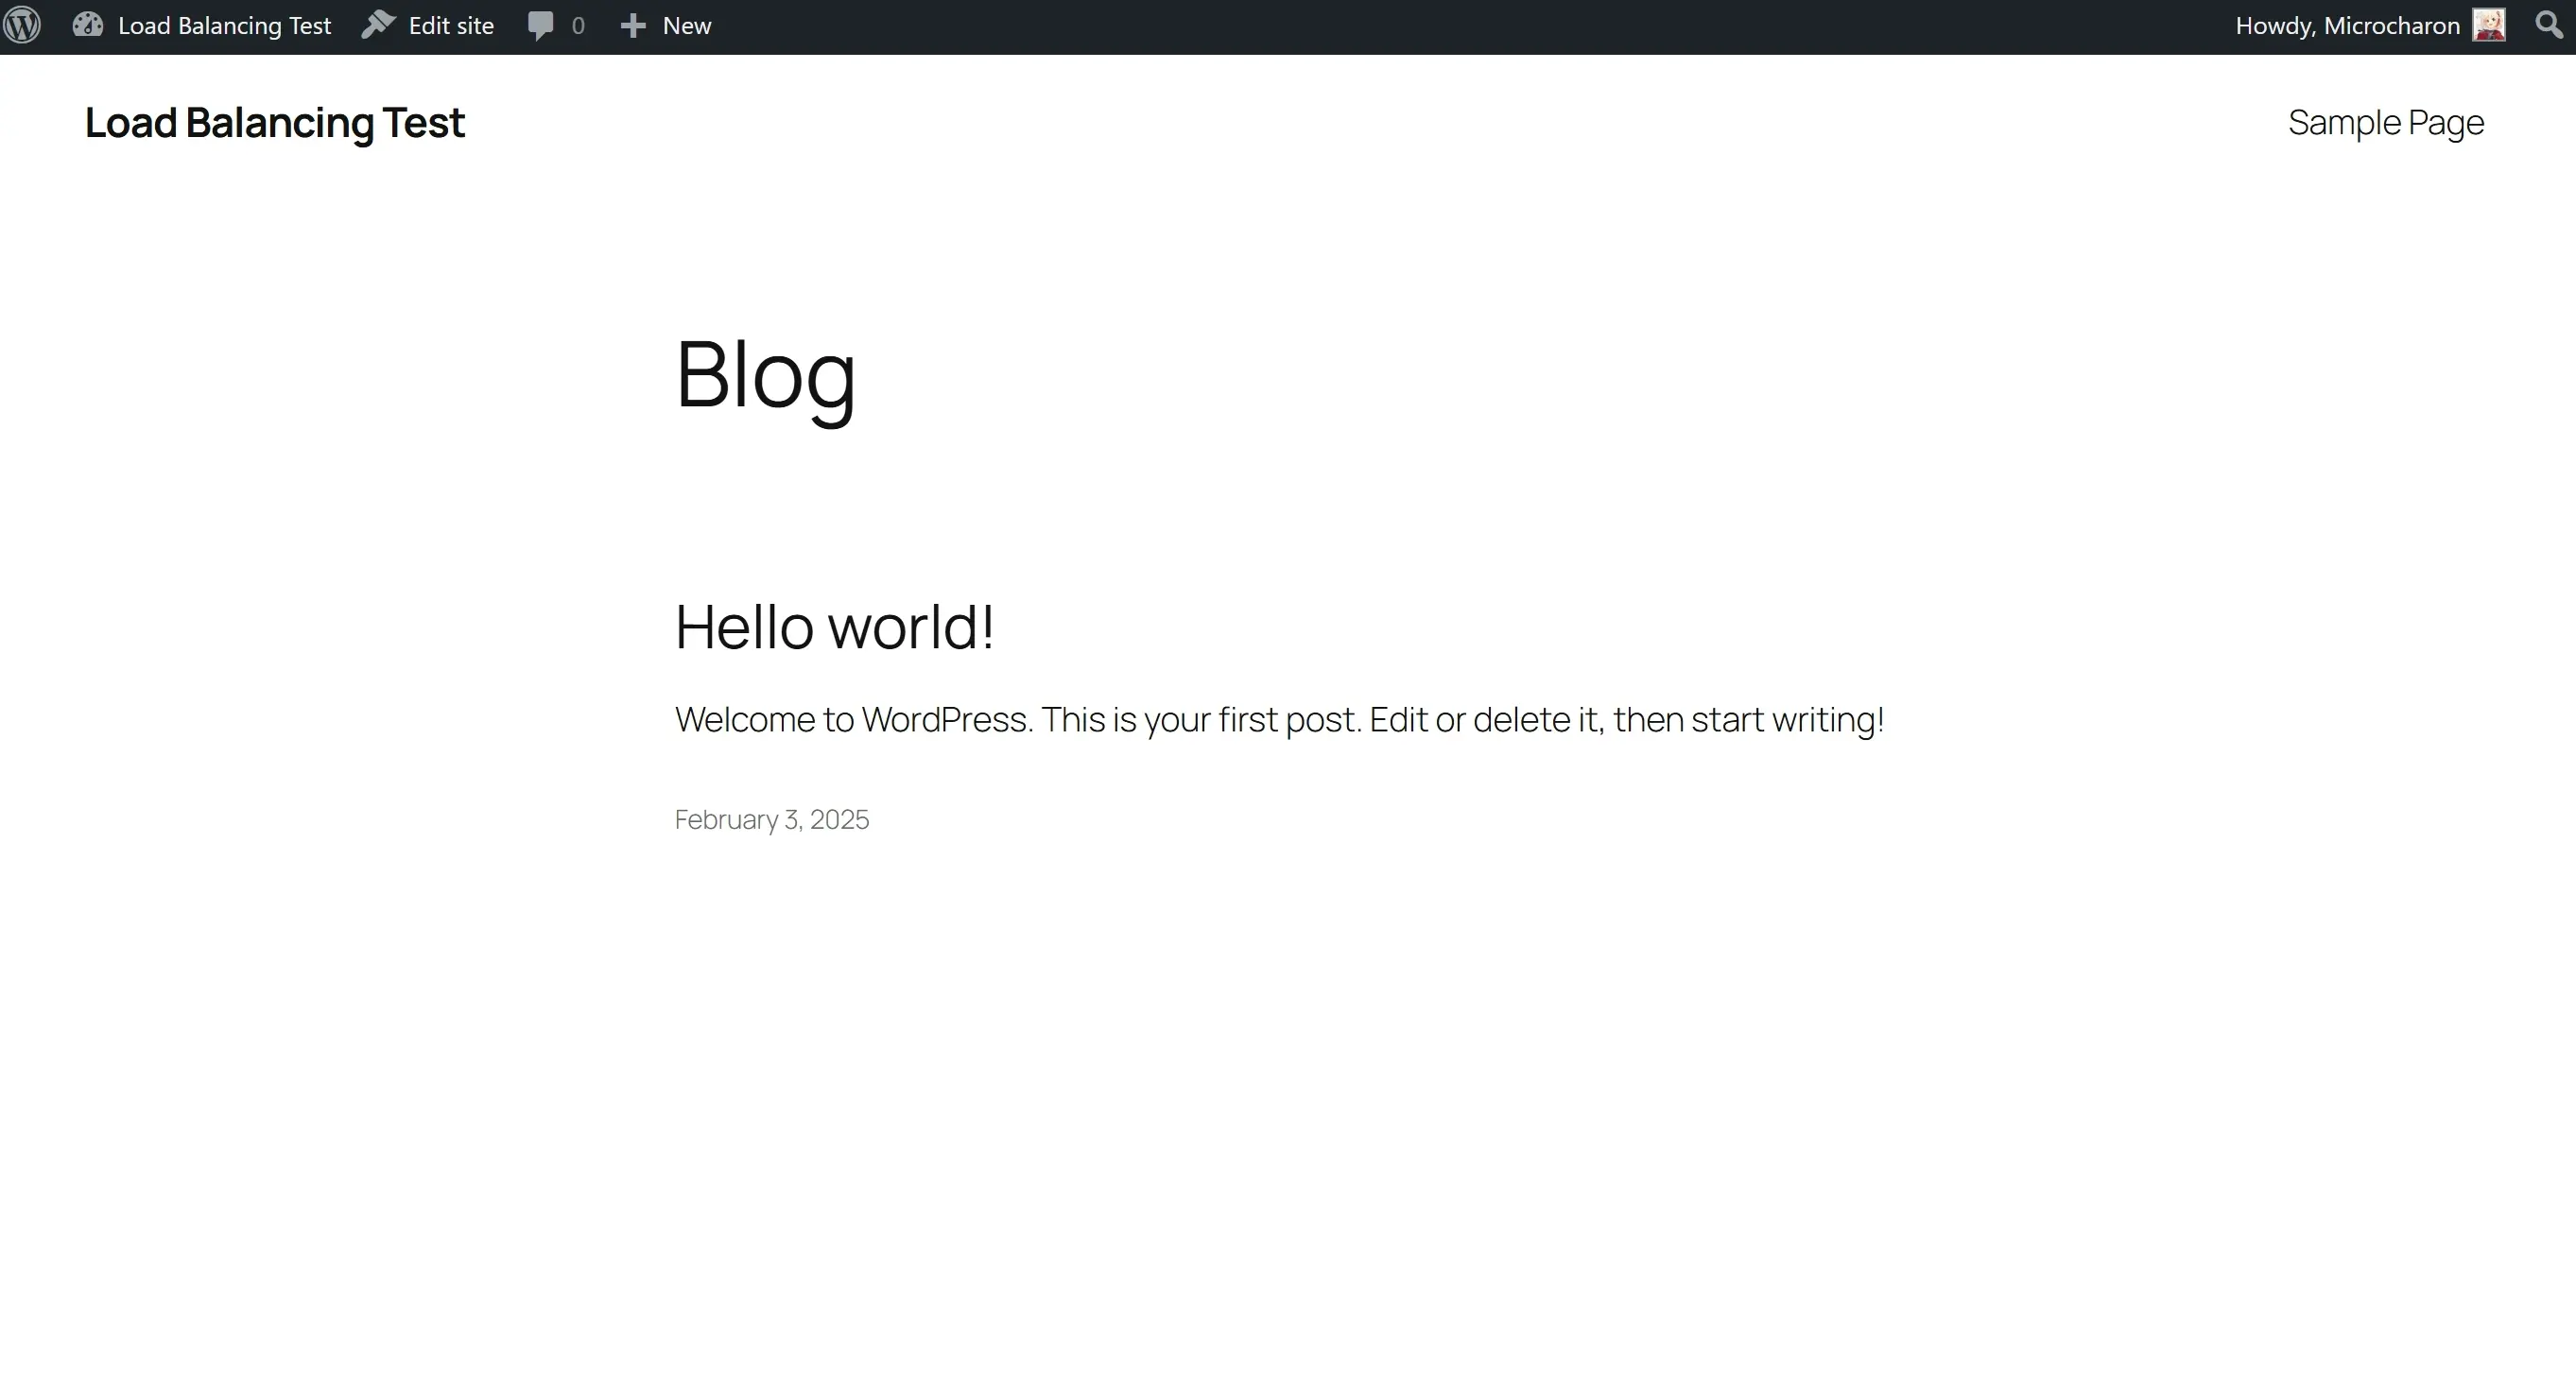
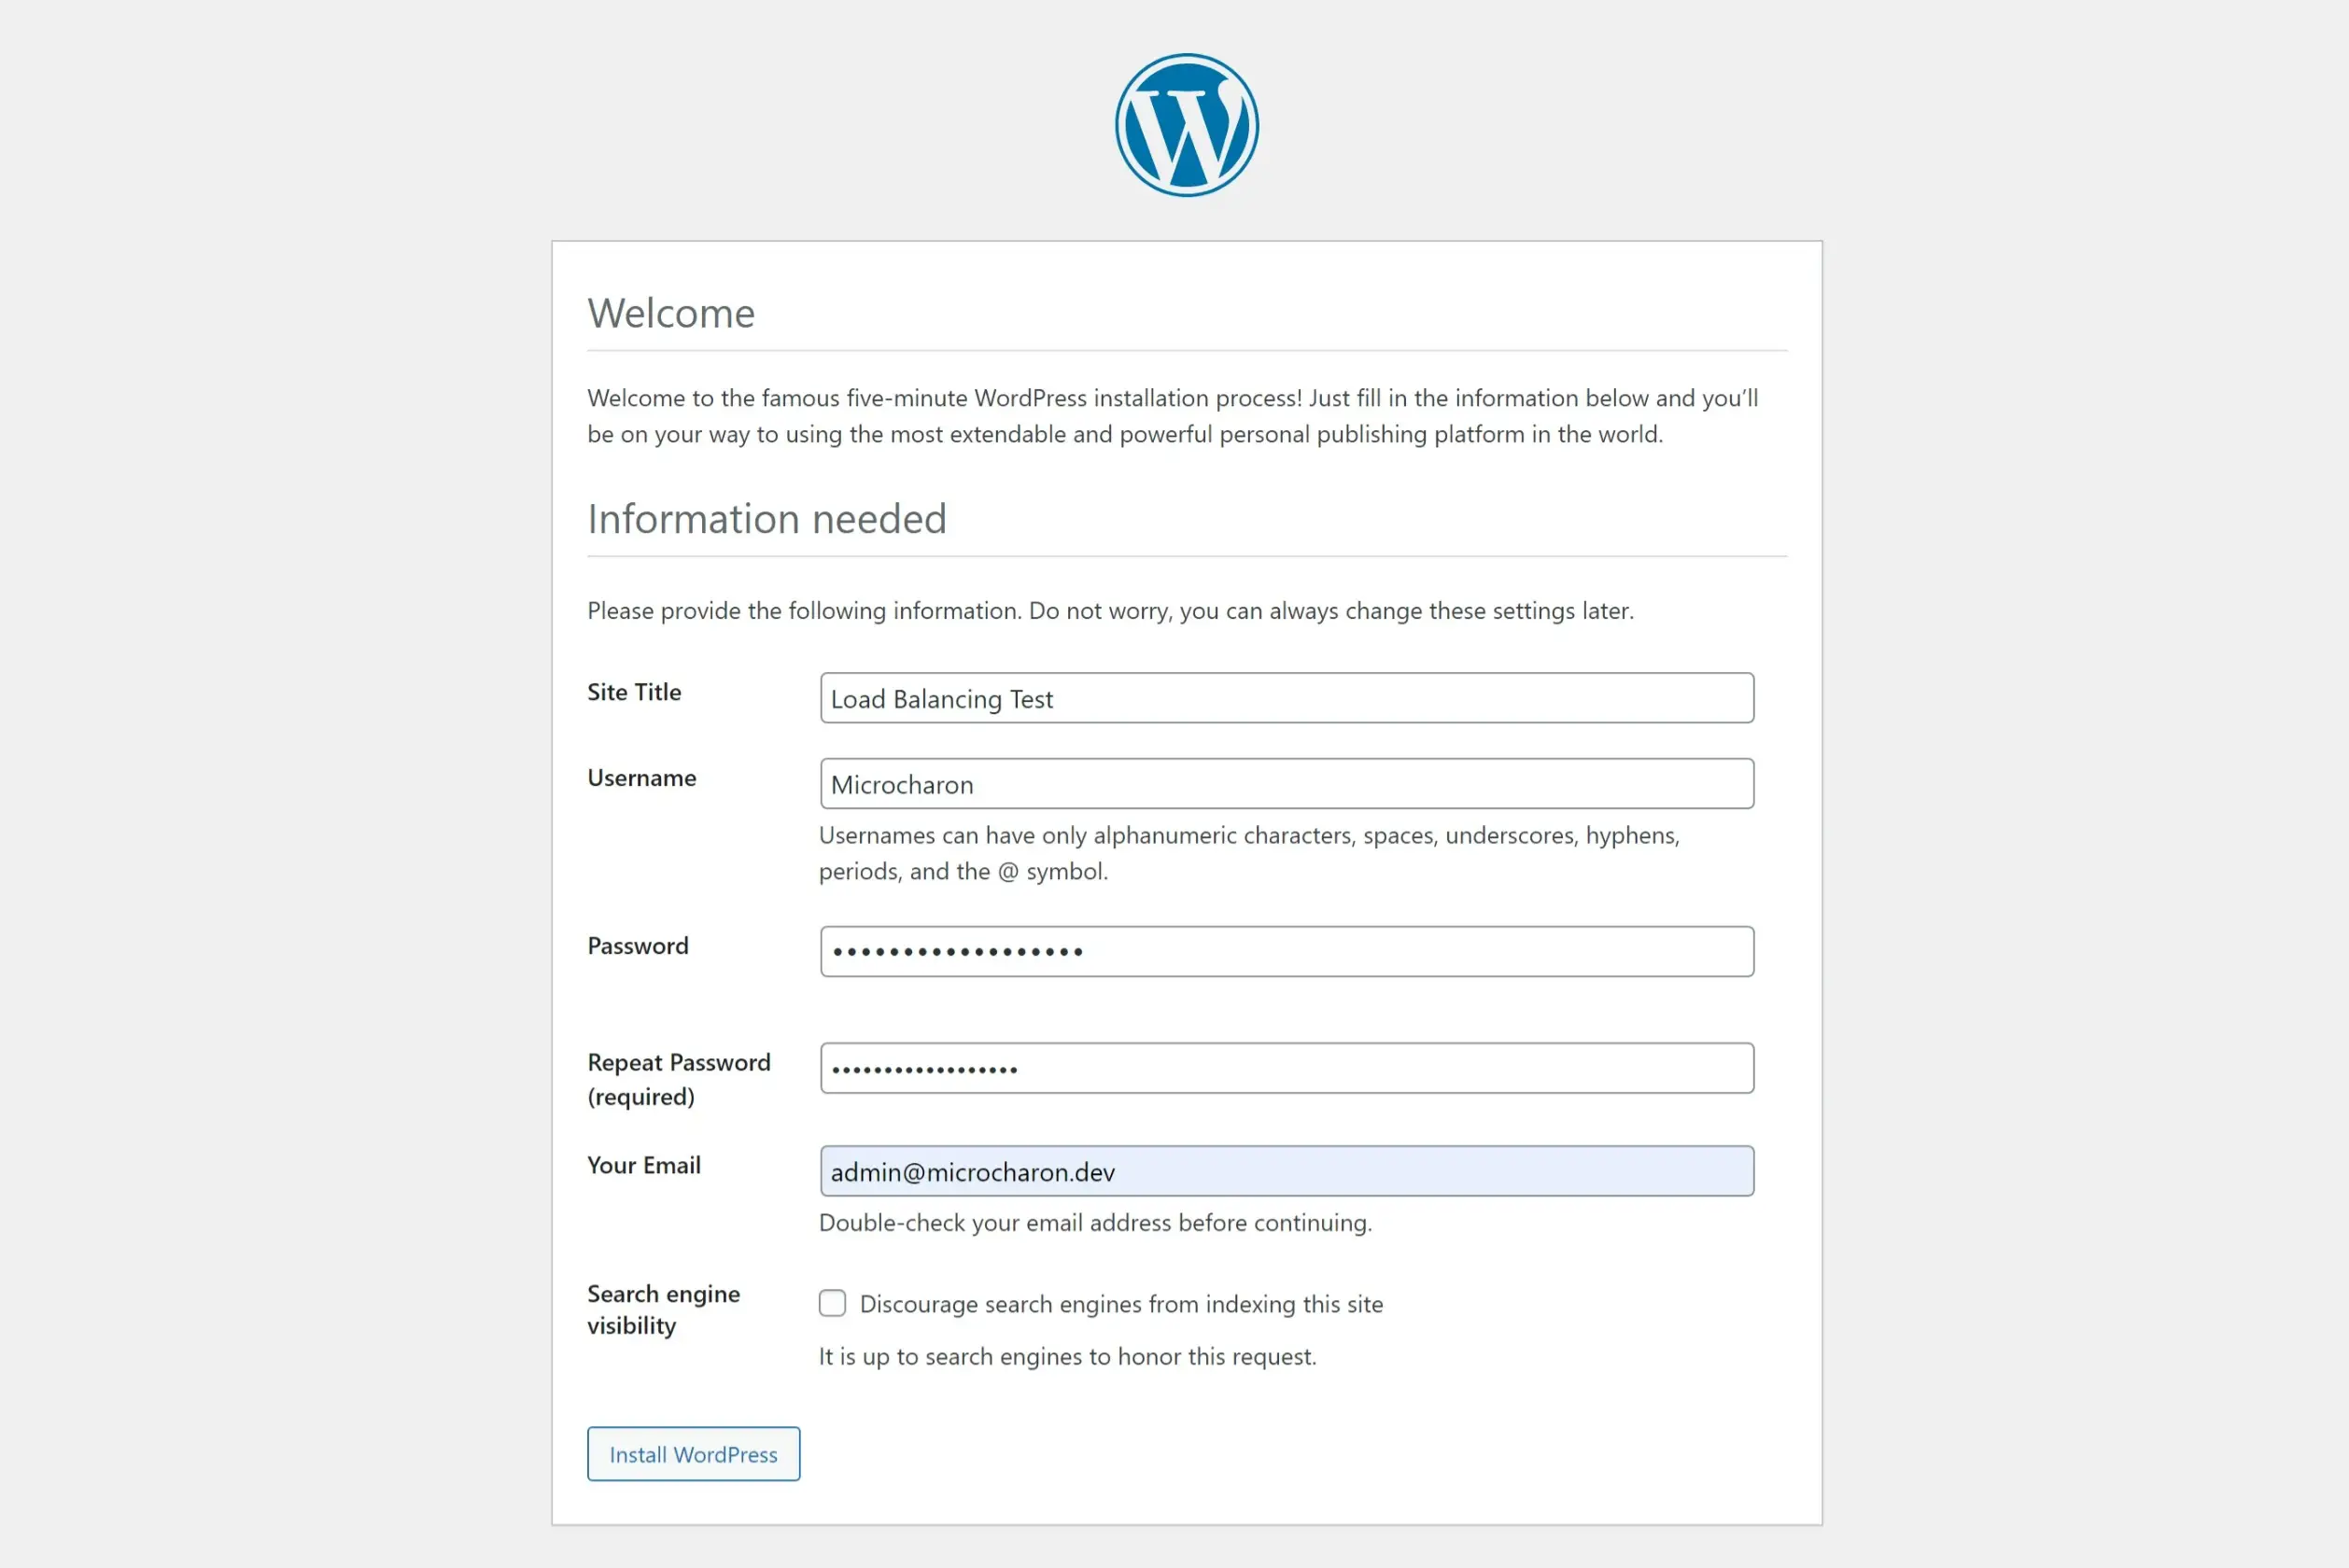
在浏览器中打开任一实例公网完成安装,此处选择 nginx-1 的公网 IP
http://138.199.146.111/wp-admin/install.php
再回到实例 mysql-1 上,更新如下
USE wordpress;
UPDATE wp_options SET option_value = 'https://microcharon.top' WHERE option_name = 'siteurl';
UPDATE wp_options SET option_value = 'https://microcharon.top' WHERE option_name = 'home';
DNS配置添加解析记录
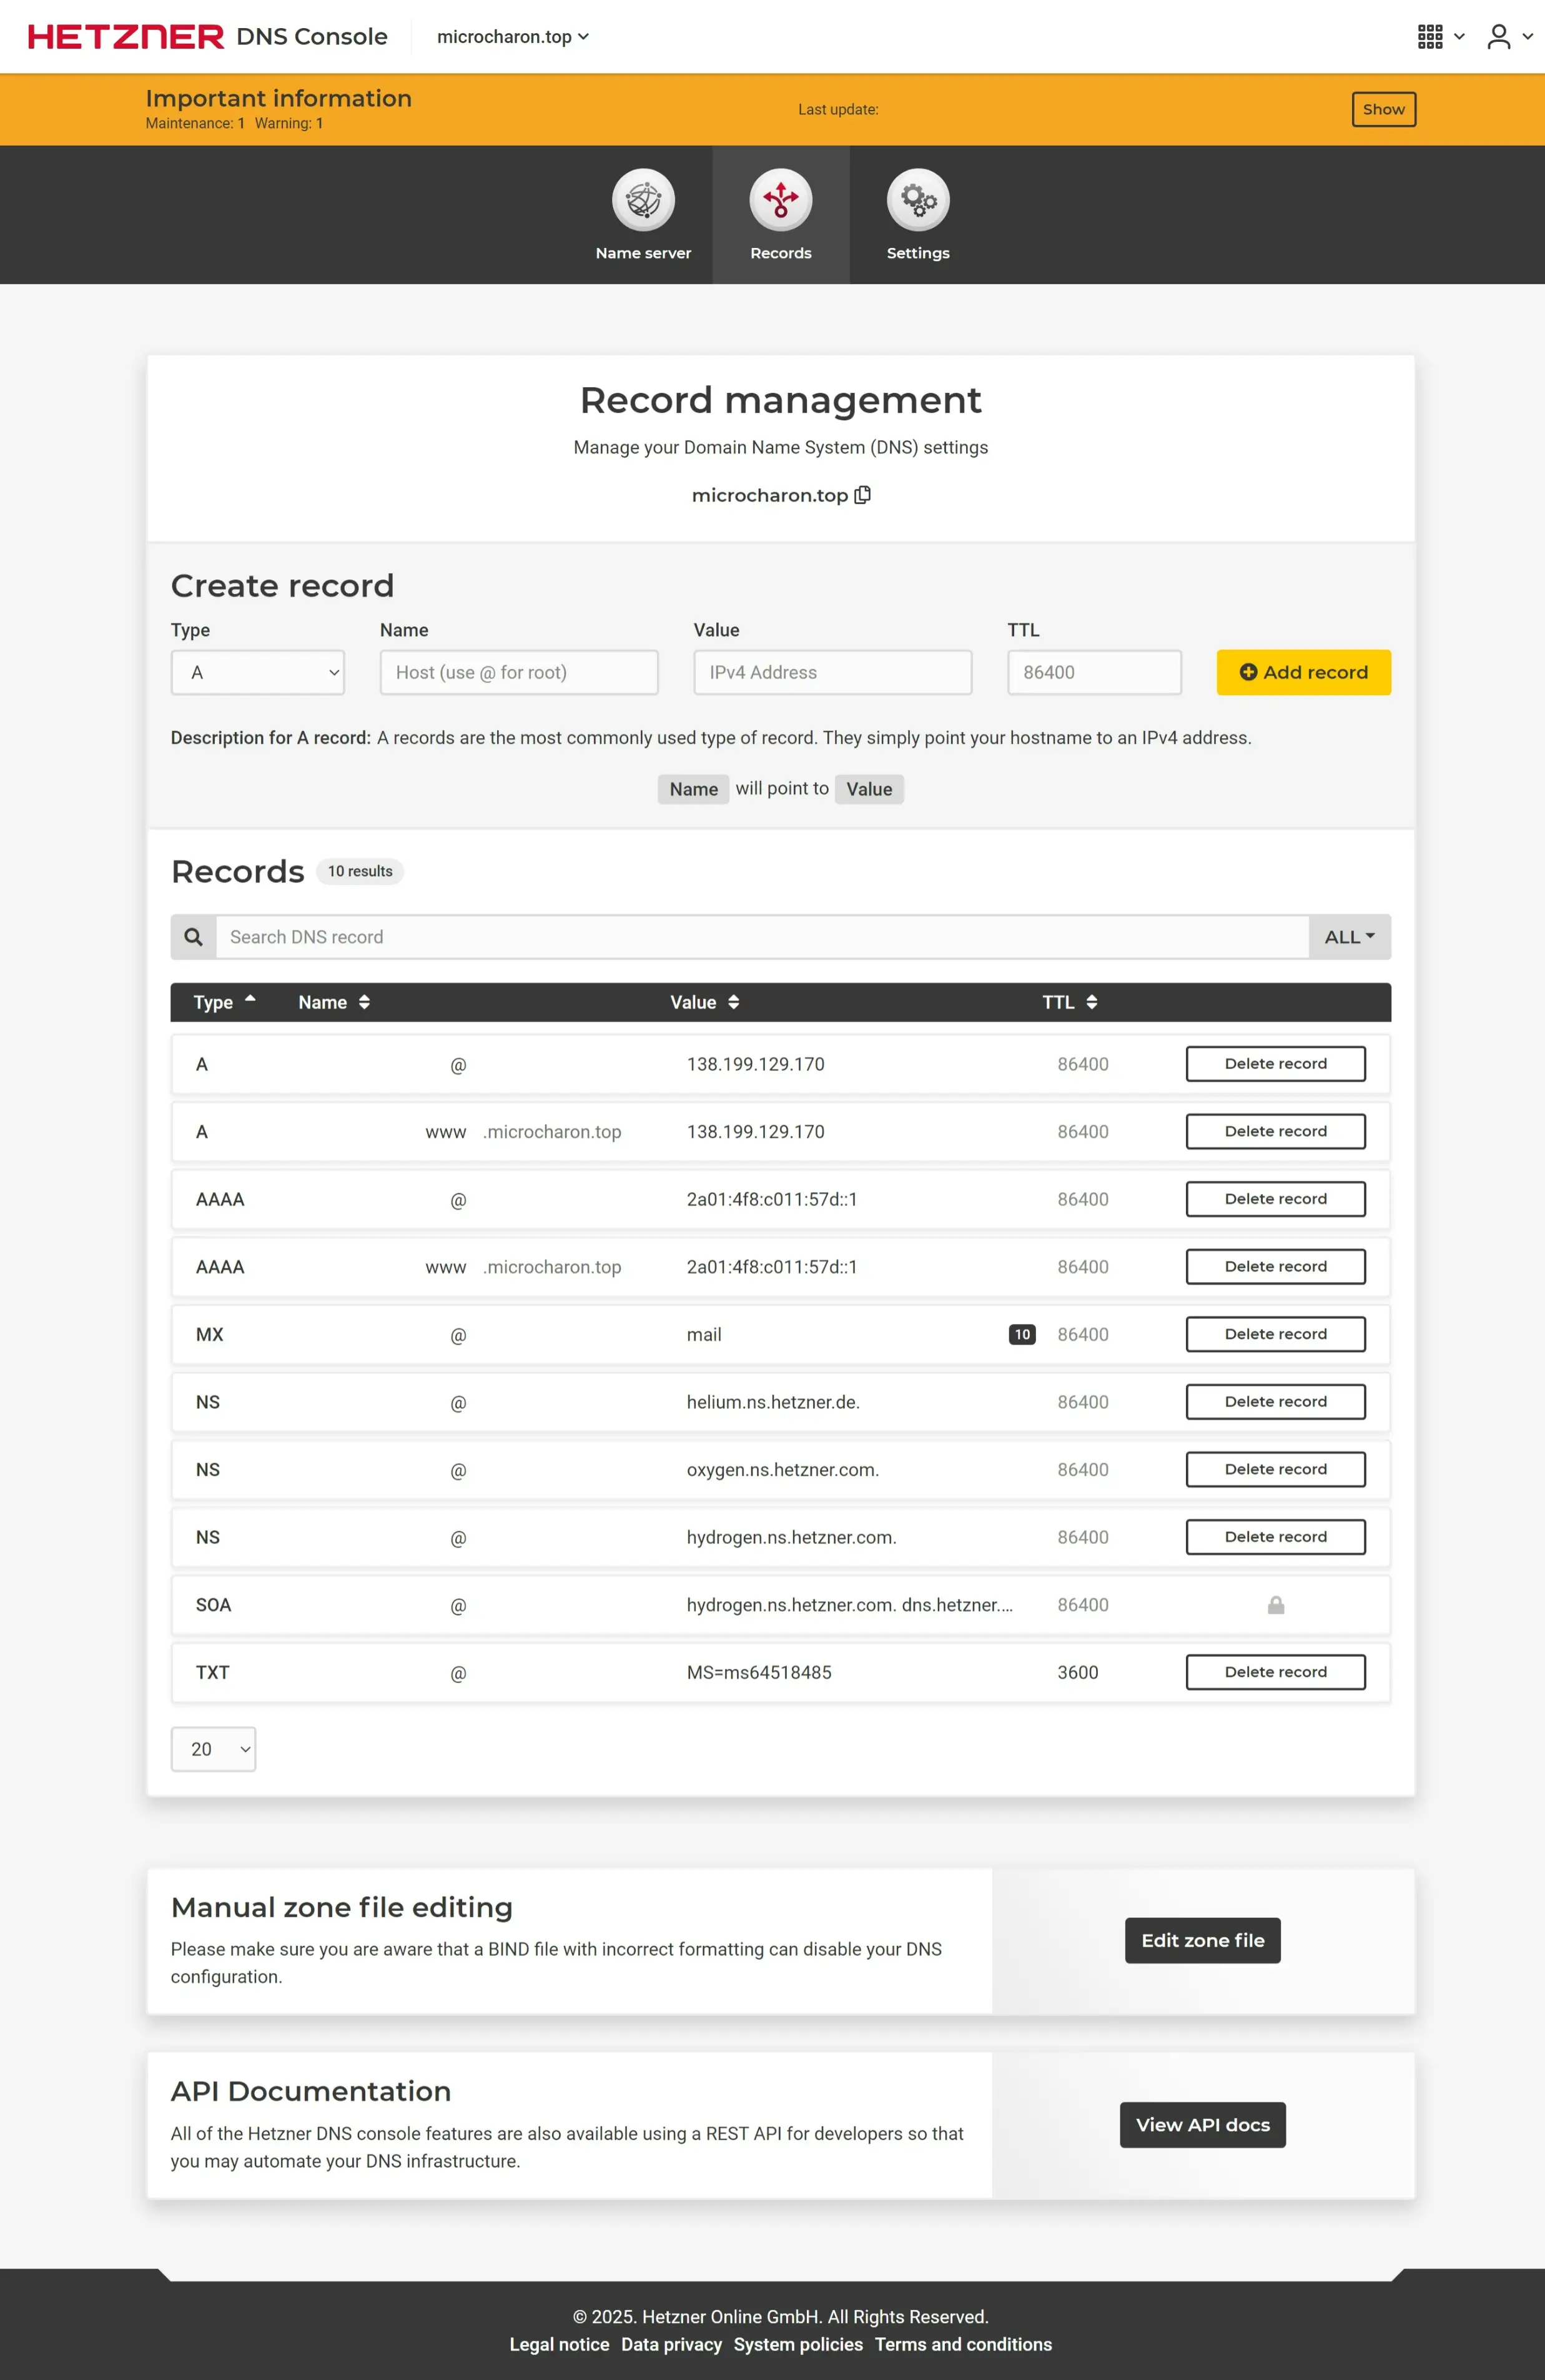
添加 A、AAAA 记录,值为 LB 的公网 IP
; A Records
@       IN  A   138.199.129.170
www     IN  A   138.199.129.170
; AAAA Records
@       IN  AAAA    2a01:4f8:c011:57d::1
www     IN  AAAA    2a01:4f8:c011:57d::1
简单测试效果
在 nginx-1, nginx-2 下网站下放置文本文件 test.txt,默认采用轮询 (Round Robin) 算法,Hetzner Cloud 仅支持轮询 (Round Robin) 和最小连接 (Least Connections) 算法:Overview - Hetzner Docs
microcharon.top/test.txt
NFS配置共享目录
安装 NFS 服务,服务器端安装 nfs-kernel-server,客户端安装 nfs-common
#install nfs-kernel-server on server side
apt install nfs-kernel-server

#install nfs-common on client side
apt install nfs-common
在 NFS 服务器端上创建共享目录 /srv/nfs/wordpress
mkdir -p /srv/nfs/wordpress
目录及其子目录的权限更改为 www:www(根据客户端上的来决定),如若没有该组及其用户,则创建
groupadd www
useradd -s /sbin/nologin -g www www

chown -R www:www /srv/nfs/wordpress
配置 exports 文件,编辑 /etc/exports 文件,确保正确配置 NFS 共享
/srv/nfs/wordpress 10.0.0.0/24(rw,sync,no_subtree_check,no_root_squash)
重新导出 NFS 共享
exportfs -a
systemctl restart nfs-kernel-server
在 nginx-1, nginx-2 客户端上挂载
mount 10.0.0.2:/srv/nfs/wordpress /home/wwwroot/default/wp-content/uploads
在 /etc/fstab 中配置自动挂载
#10.0.0.2:/srv/nfs/wordpress /home/wwwroot/default/wp-content/uploads nfs defaults 0 0

echo "10.0.0.2:/srv/nfs/wordpress /home/wwwroot/default/wp-content/uploads nfs defaults 0 0" | tee -a /etc/fstab
参考资料
Load Balancers - Hetzner Docs
nginx负载均衡搭建wordpress网站 - 逍遥姐夫 - 博客园
负载均衡之WordPress博客项目案例 - Linux面板 - 宝塔面板论坛
User-data formats - cloud-init 24.4.1 documentation
How to Install and Configure an NFS Server on Ubuntu 20.04 | Linuxize

 雷达卡
雷达卡 发表于 2025-2-4 21:50:59
 照妖镜
照妖镜